Discover on this content the use of an article and the way to create it.
An article allows to write a simple traditional content to focuson a specific theme or procedure.
An article contains precise information, the important thing to remember must be highlighted so that a Z reading allows to find the desired information.
An article will always be identified by a yellow visual: 
The "article" format is distinguished from the "guide" format, an interactive decision tree that allows to break down long and complex procedures into several steps → 🟦 Create a guide
🎯 Use cases
Create simple content for different types of knowledge: short and simple procedures, daily procedures, memo sheets, informative content, news / newsletter, educational content...
⚒ Create an article
An article can only be created within a collection → see the article 📁 Create a collection
There is no limit on the number of articles that can be created within a simple or nested structure collection.
To create an article, follow these steps:
Select the collection in which to integrate your article;
Click on "Add an element";
Choose "Article";
Give a name to your article;
Your article has just been created;
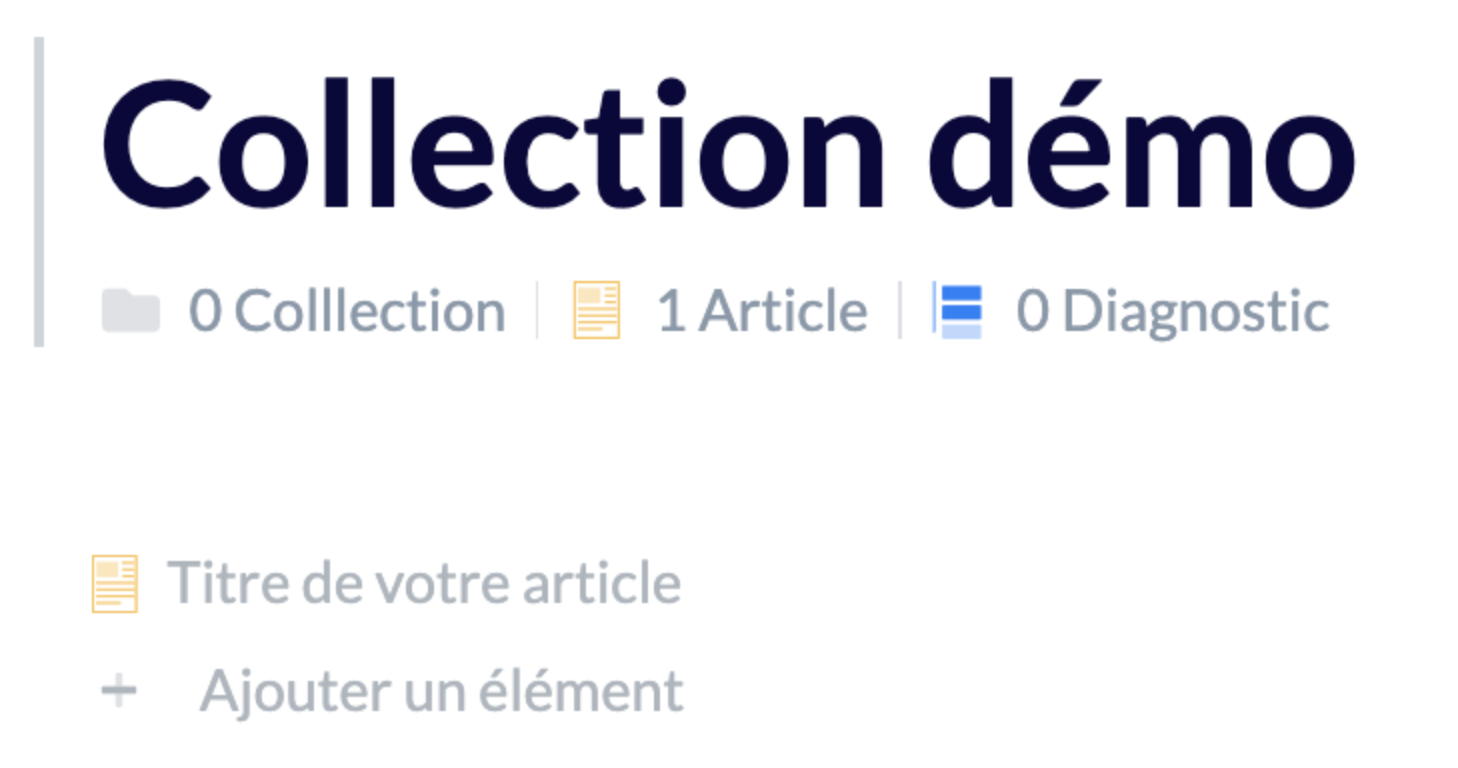
You can open it to start editing the content.

At its creation, the article is automatically labeled as “Draft” and "To be verified" → see the articles ✅ Publish a content and 👁️ Verify a content
A content with the "Draft" label will not be visible to advisors.
✨ Article features
When creating your article, it is in "Draft" mode. At this stage, you can simply write a simple content.
If you click on "Draft" to change its status to "Published", you will see new icons. Each icon has a specificity that allows you to feed the content to increase its performance in the interest of advisors.
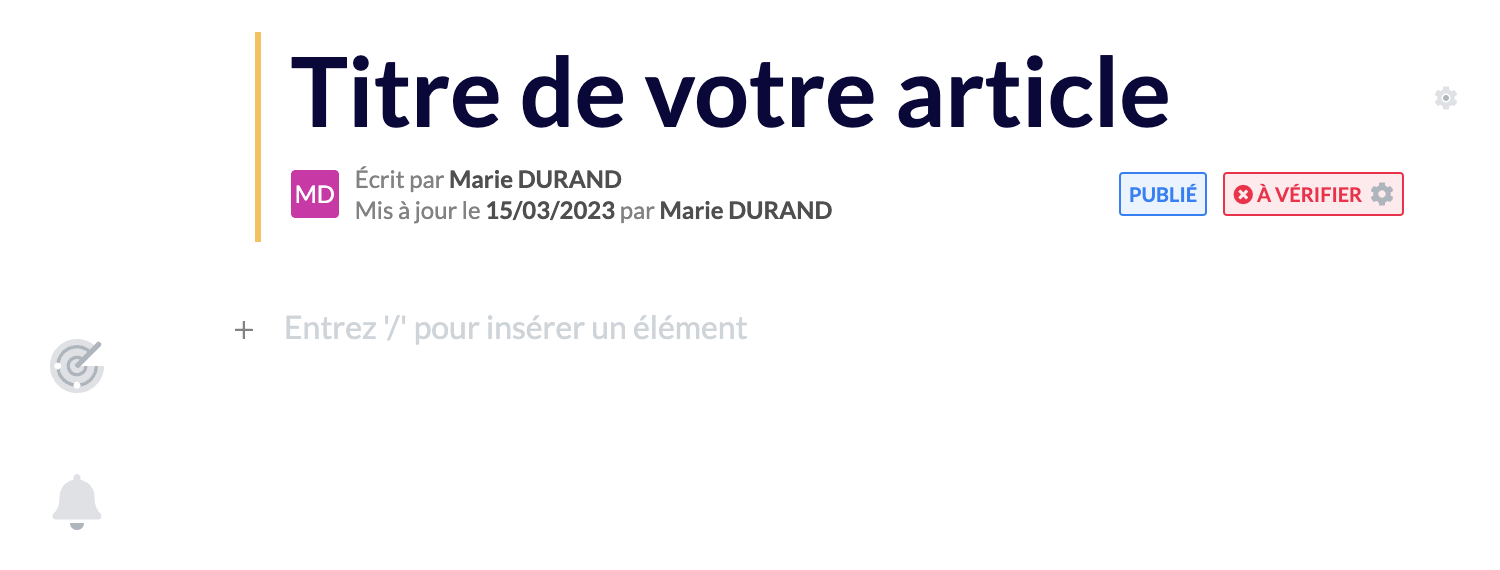
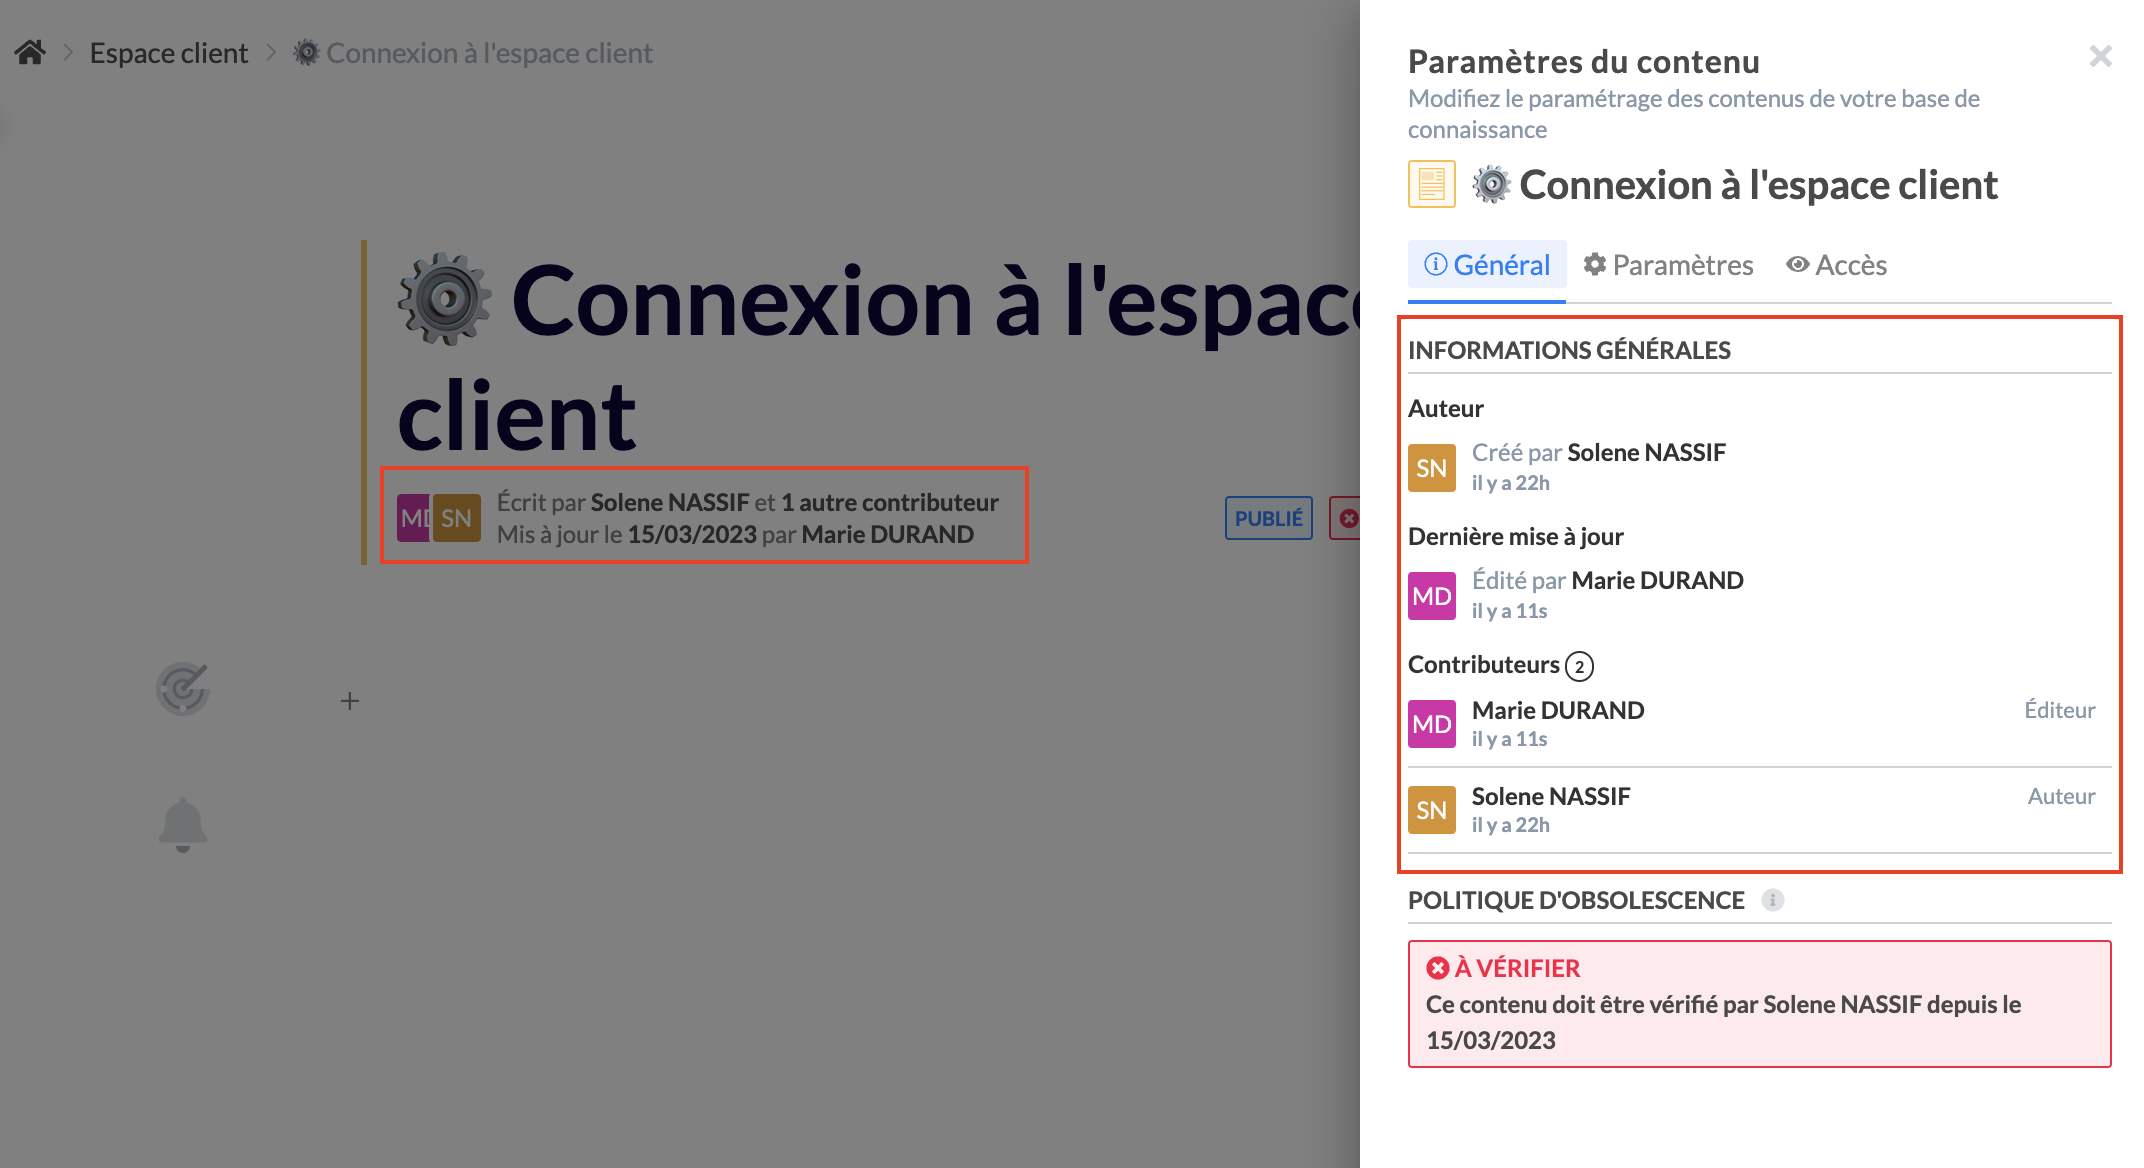
You also have access to the name of the content creator, as well as the date of the last update. By clicking on this information, a modal will appear on the right to give you access to:
the name of the author and the date of creation of the content;
the history of updates (date of update and name of the editor);
the total number of contributors to the content.
📝 List of features

An alias is a keyword that will be indexed to your content. This keyword must be a synonym of a term related to your content. If this keyword is used by an agent in the search bar, your content will be proposed to him/her.
Several aliases can be provided for the same article. These aliases will not be visible in the content itself.
Example: article "Dealing with customer feedback", aliases can be:
Opinion
Suggestion
Recommendation
Alert

You can notify your agents in one go to alert them of a change or an emergency.
💡Find all the information by clicking on 🔔 Send a notification to the users

You can manage the life cycle of your content in an automated way.
💡 Find all the information by clicking on 👁️ Verify a content

You can set a publication date for your content.
💡 Find all the information by clicking on ✅ Publish a content

You can rename the title of your content at any time by clicking on the style icon to the right of the title. The modification will be instantly visible on the advisor side and within the content redirection links.

You can manage the settings of your content by adding labels, for example, or by checking if verification processes have been put in place.
💡 Find more information here: MISSING CONTENT
💡 Additional features
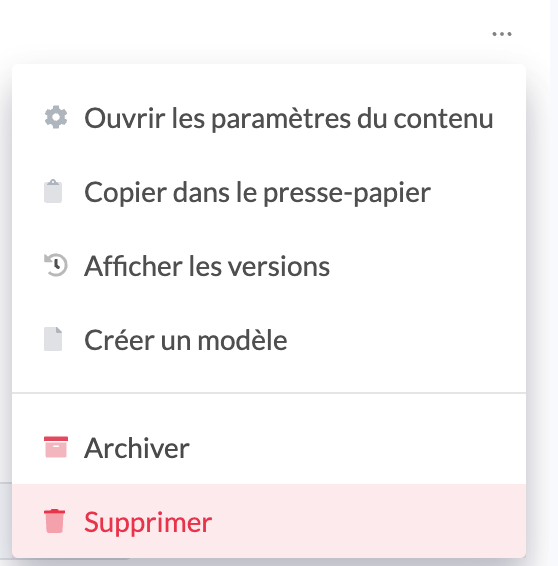
Once your article is created, on the content page, you can perform several actions by clicking on the three dots "..." at the top right of the page:
Open the content settings;
Copy the content URL;
Display the content version history;
Create a template from this content to take over its structure;
Archive the content (it will be possible to restore it later);
Permanently delete the content.
It is also possible to clone the content within the same knowledge base or another knowledge base.
To do this, follow these steps:
Go to the collection page containing the content;
Click on the three dots "
..." to the right of the content;📸 View the page 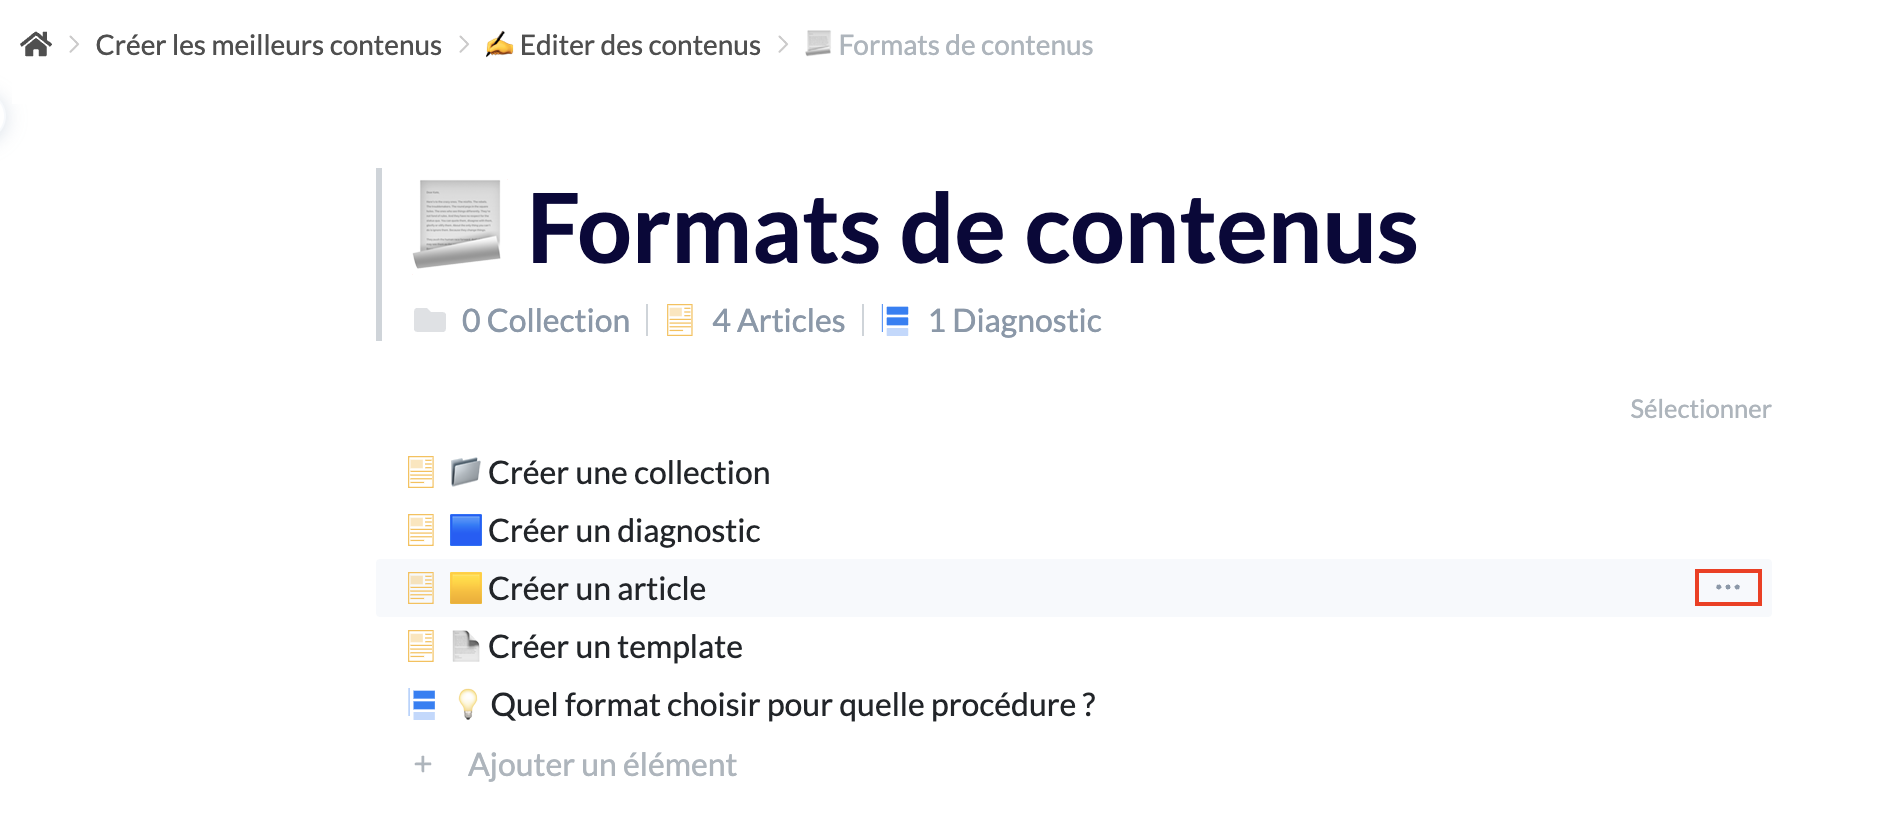
Select the knowledge base and then the collection / sub-collection in which you want to insert the cloned content.
Click on "Select" and then on "Validate".