Discover on this content how to create and manage one or more knowledge bases.
The management of knowledge bases is done in the settings of your Mayday account, in the " General" section.
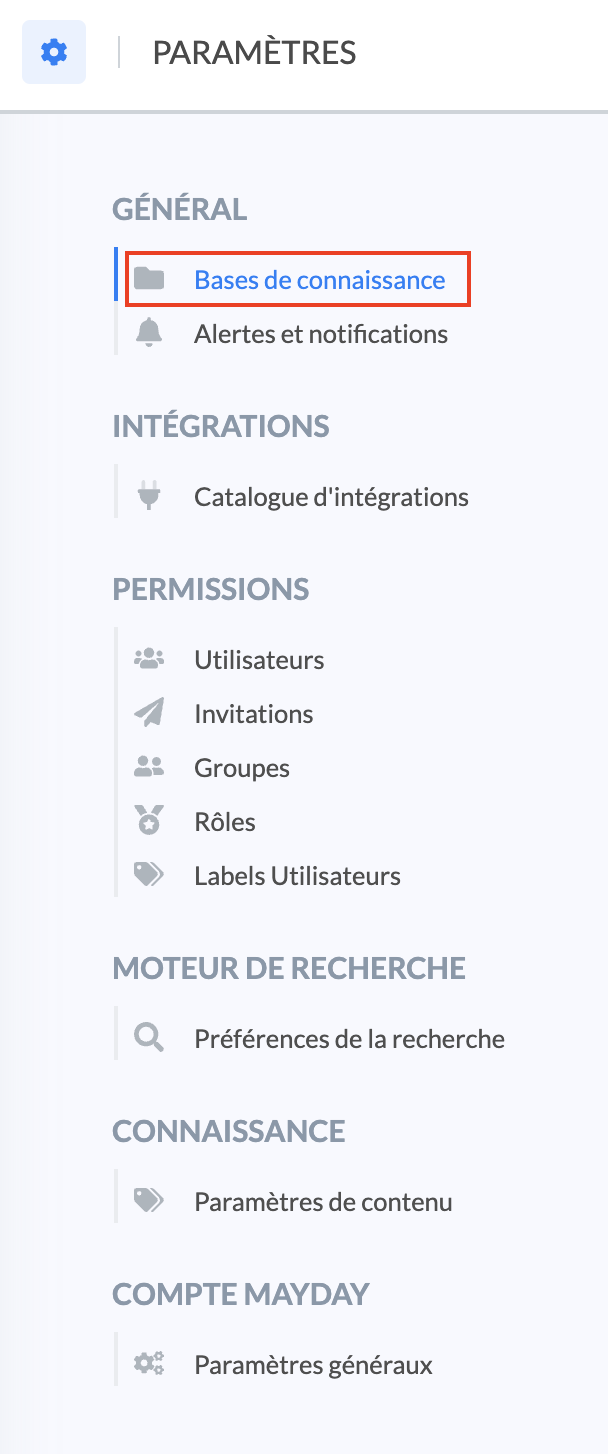
This setting allows you to create distinct knowledge bases to optimize the management of your processes.
It is in this subsection that you will be able to manage your knowledge bases.
🎯 Use cases
Create multiple internal knowledge bases to:
distinguish processes by specificity or subsidiary of a group;
create multilingual content: each knowledge base will then be specific to a country with content translated into each language.
📸 View an example of multilingual knowledge bases 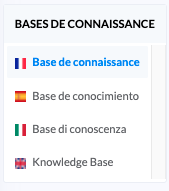
Create an internal knowledge base for your advisors and a public knowledge base (FAQ) for your customers!
→ More information on MISSING CONTENT
🏗 Create a new knowledge base
To create a new knowledge base, follow these steps:
Click on "Add a knowledge base";
📸 View the button 
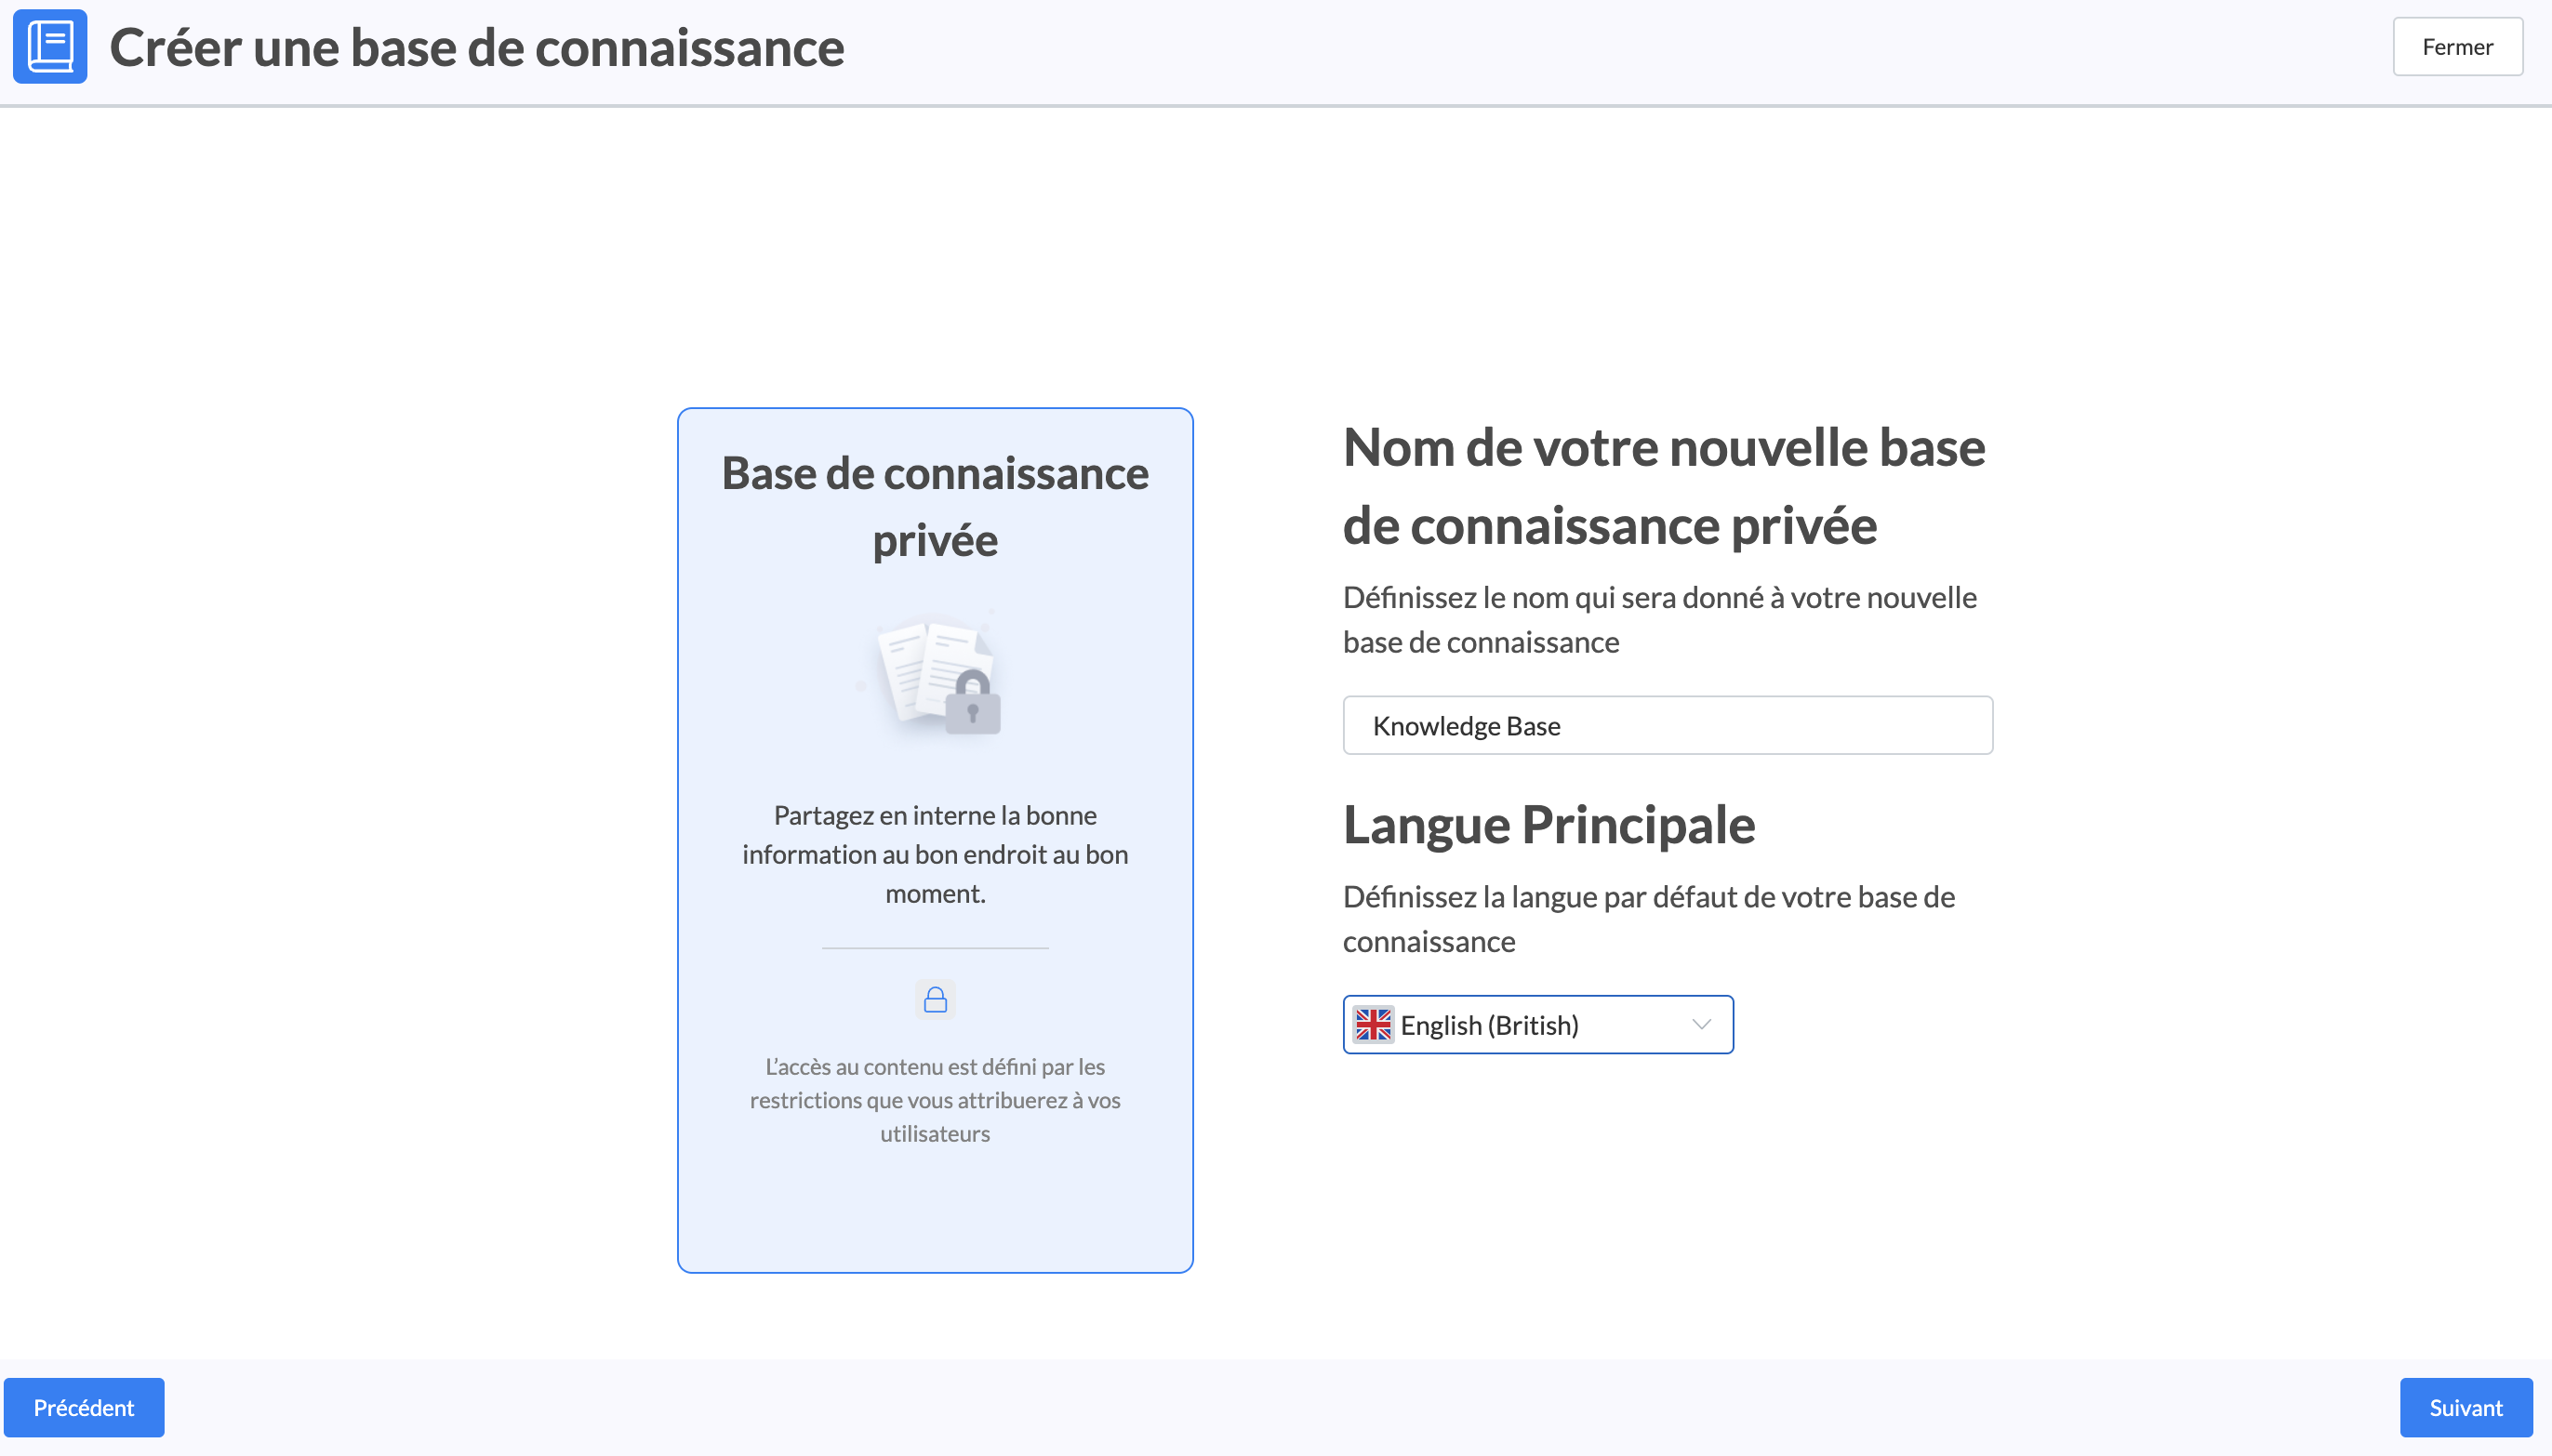
Enter the name of your new knowledge base;
The name of your knowledge base will appear in the top left of the full advisor interface and in the breadcrumb trail of the content.
📸 View the display of the name of your knowledge base 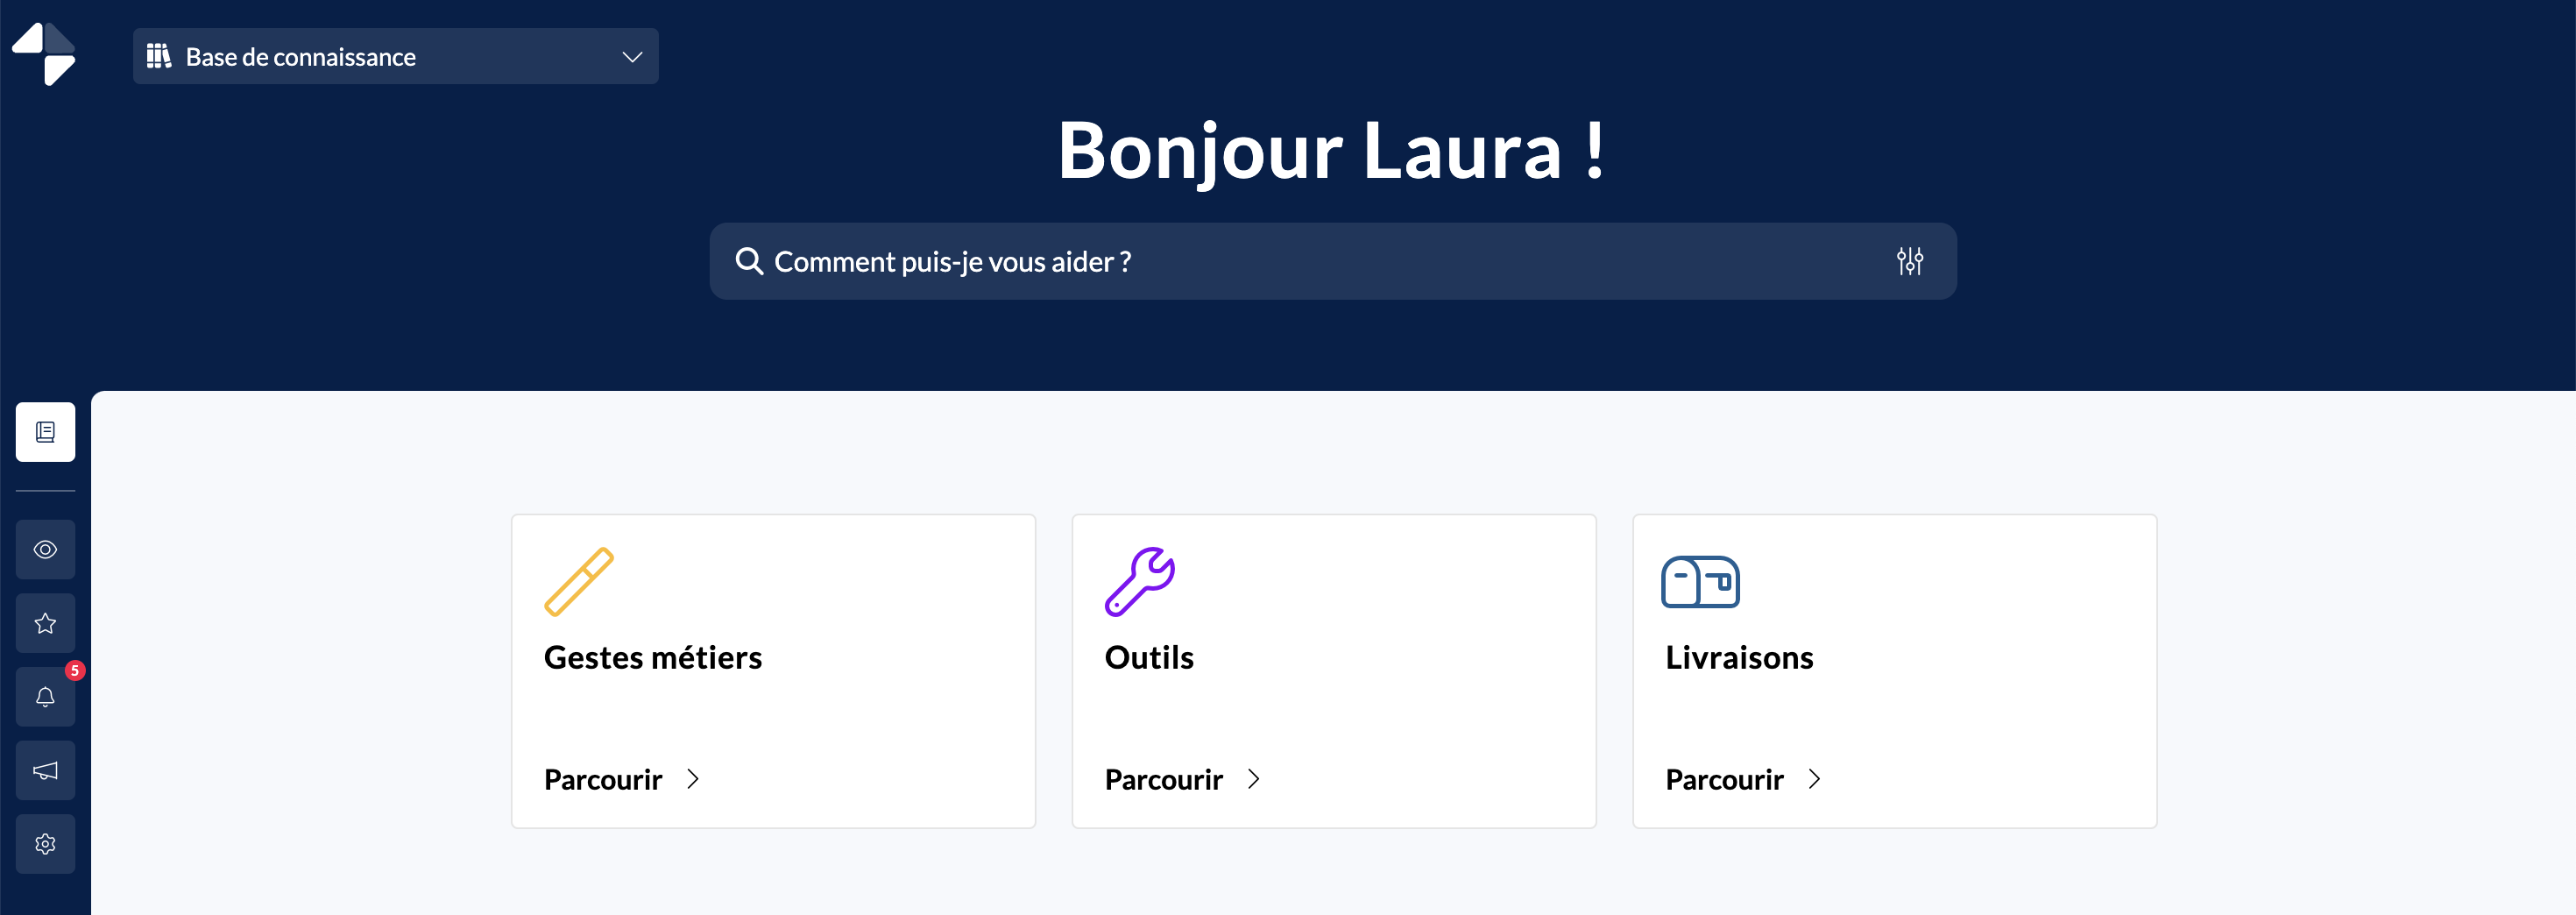
Choose the main language;
Click on "Next".
The creation is successful!
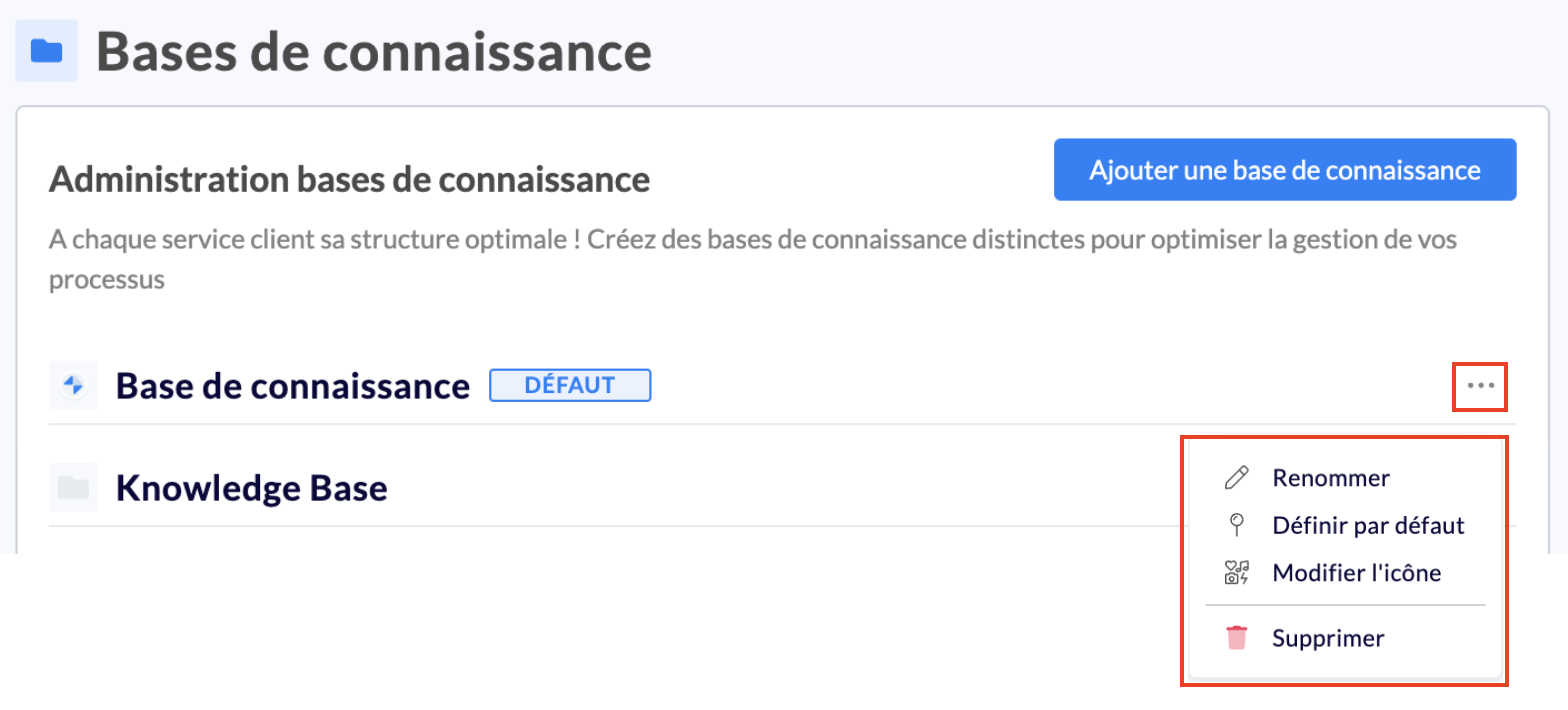
Once the knowledge base is created, you can perform several actions:
rename it;
set it as default;
modify the icon;
delete it.
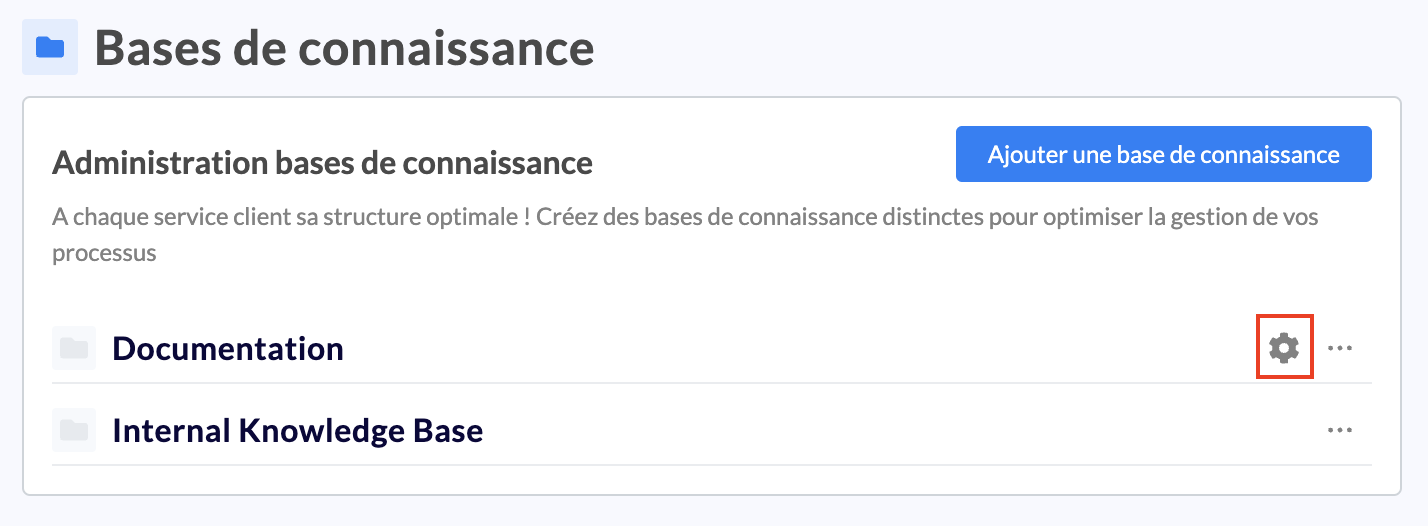
Public knowledge bases contain specific settings to customize your FAQ. They are accessible via the gear icon.
Learn more about these settings by clicking here → MISSING CONTENT
You can set a default knowledge base so that you can directly access its content when Mayday opens.
👁 Consult the knowledge base
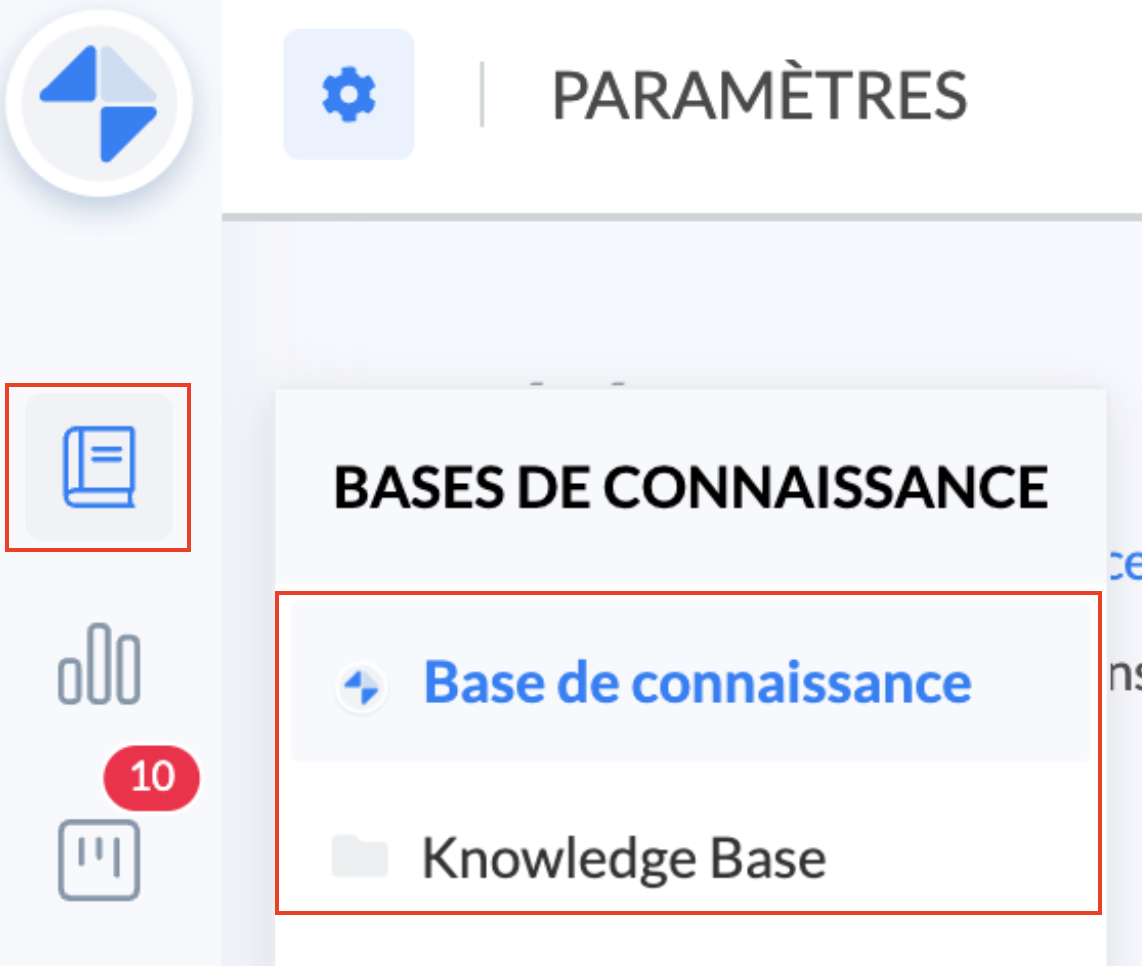
To switch between knowledge bases, simply place your cursor on the "Knowledge base" icon in the general menu of the administrator interface, then click on the one you want to consult.
Each knowledge base is independent of each other.
All actions taken on one of them have no impact on the other.
Each knowledge base will have its own search engine and collections.
👉 Thus, when the advisor searches for content on knowledge base A, only the contents of that knowledge base will be offered.
The labels of created content are common to knowledge bases → See the article 🏷️ Manage content labels
✍ Clone content from one base to another
In case you need to duplicate the content of a knowledge base to another, follow these steps:
Go to the "Knowledge base" menu;
Placeyour cursor on the collection to be duplicated;
Click on "Clone in another base";
If you wish, you can activate "Rename the element" to be duplicated;
Selectthe knowledge base and collection / sub-collection in which to duplicate the content;
Click on "Select";
Your content is automatically cloned in "Draft" in the new knowledge base! 🤩
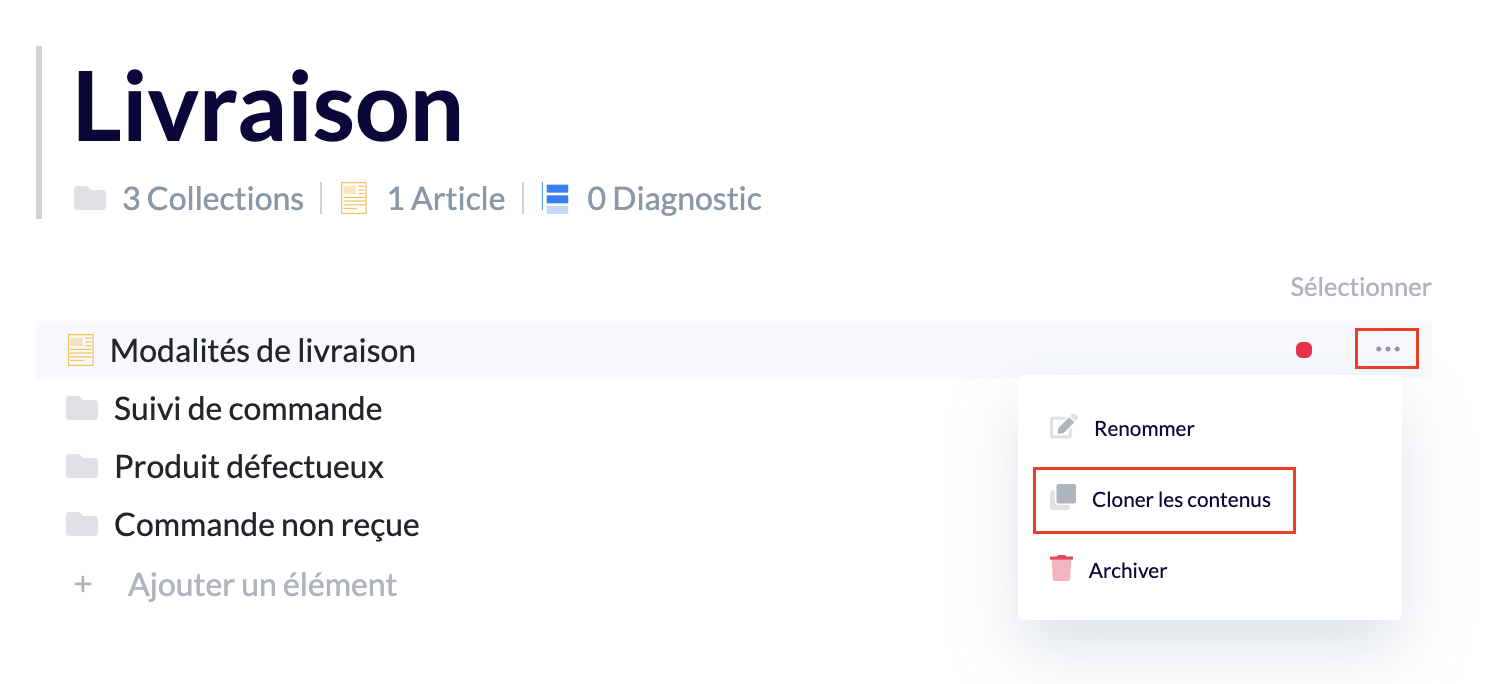
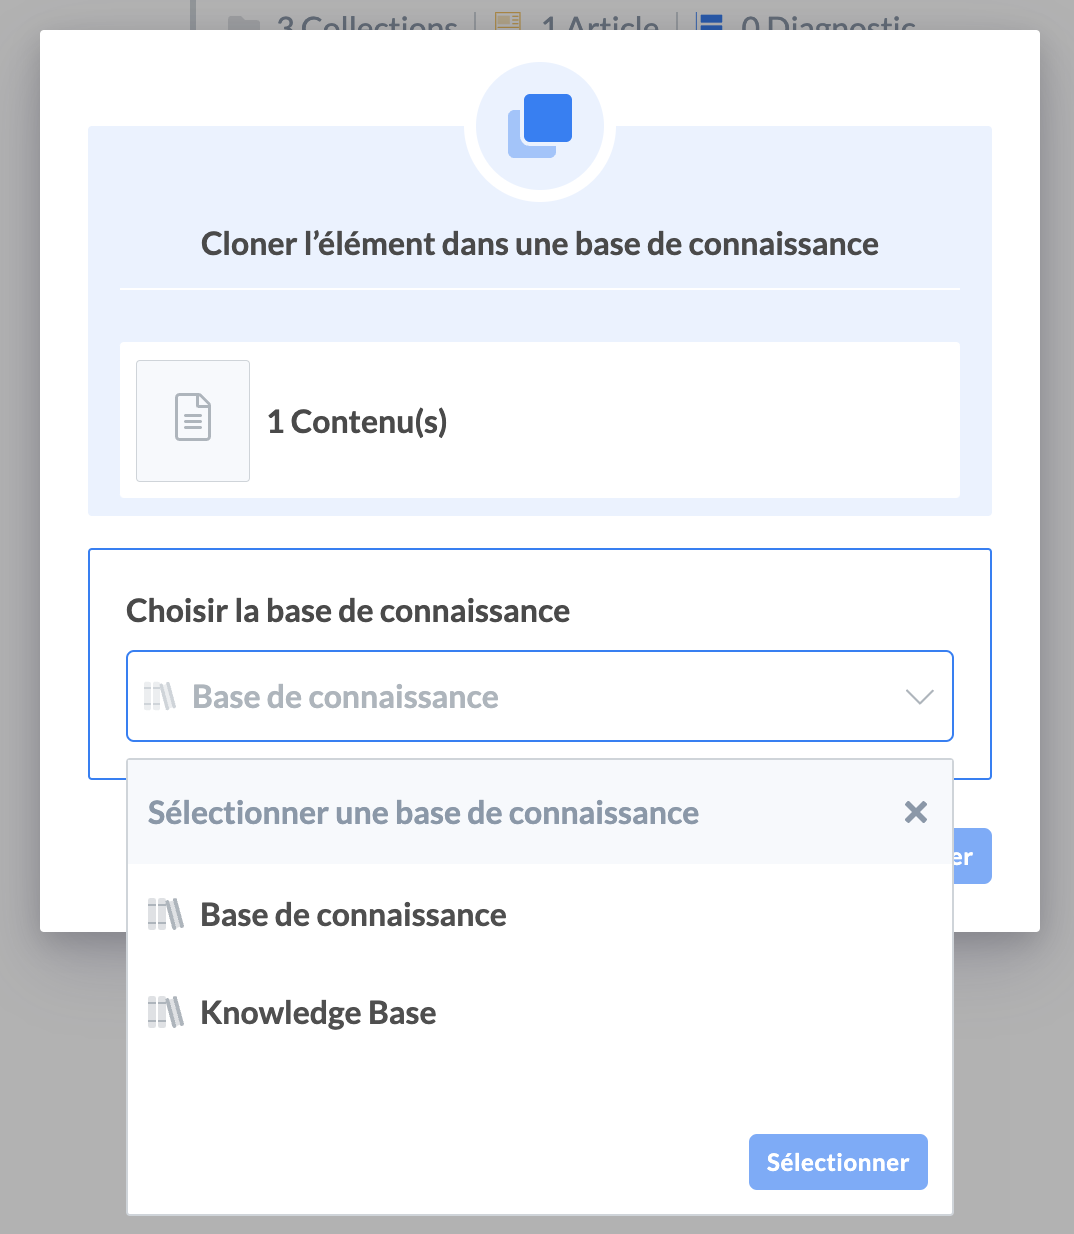
This methodology is also applicable at the level of an article or diagnosis.
There is no synchronization between similar content in different knowledge bases. In other words, when content is modified in one knowledge base, the modification will not be automatically applied to the content in another knowledge base. It will be necessary to make the changes manually.
❌ Delete a knowledge base
To delete a new knowledge base, follow these steps:
Click on the three horizontal dots next to the name of your knowledge base;
Click on "Delete";
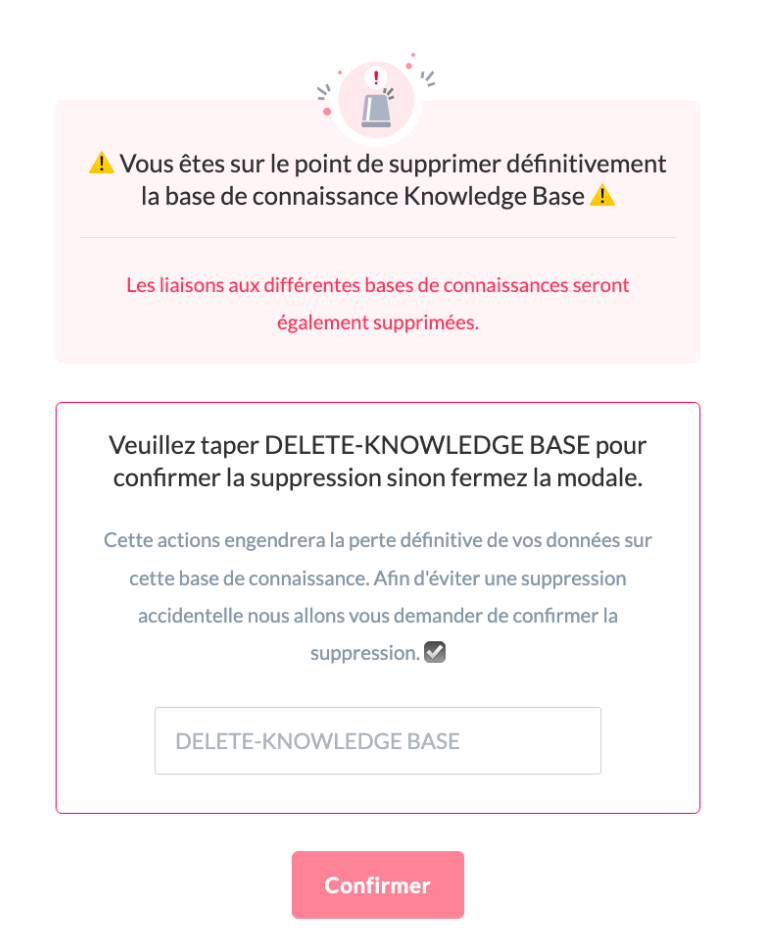
Confirm the deletion;
The mention "Being deleted" is displayed until a Mayday administrator deletes it.
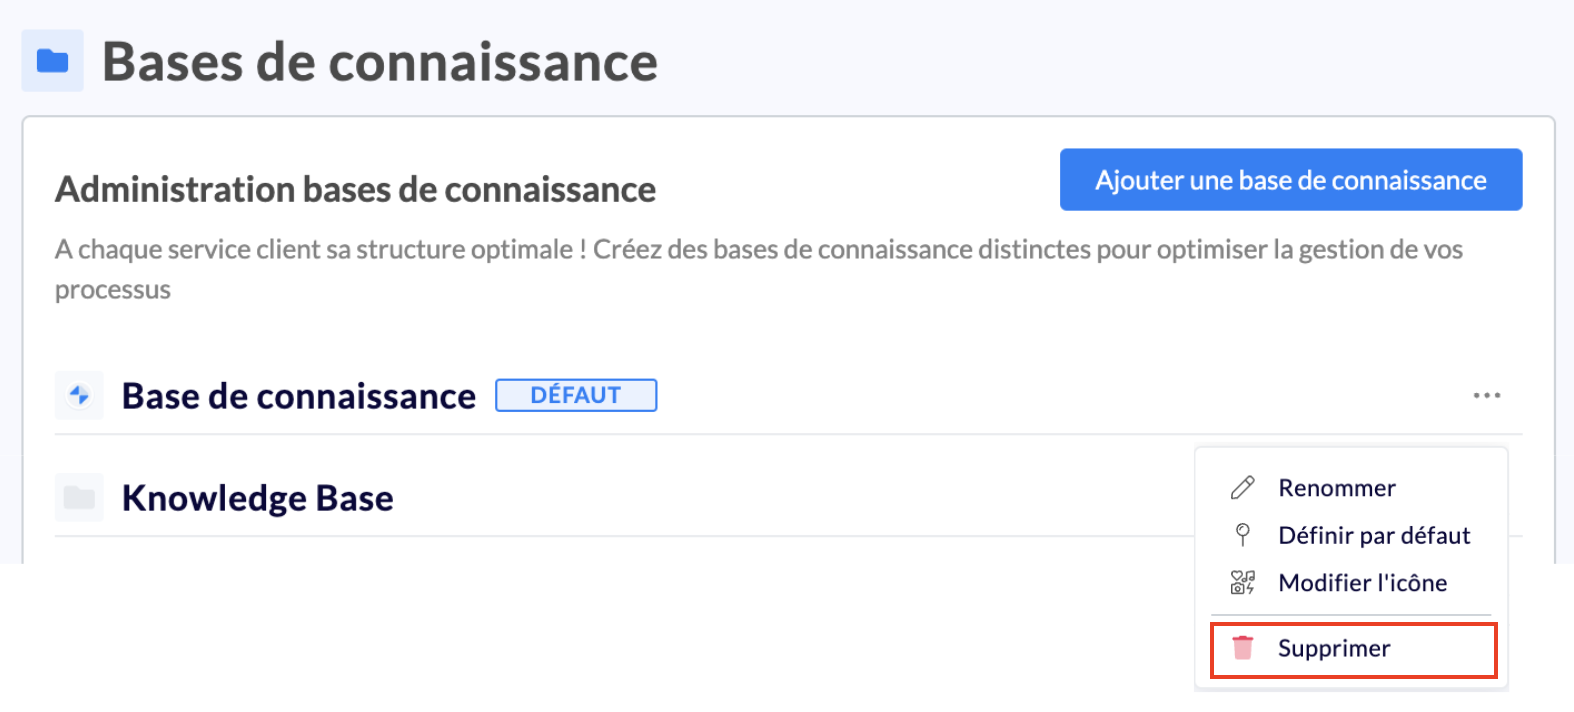
The deletion by a Mayday administrator is carried out within 2 working days.
