Discover on this content how to create content labels, also called "Content Parameters".
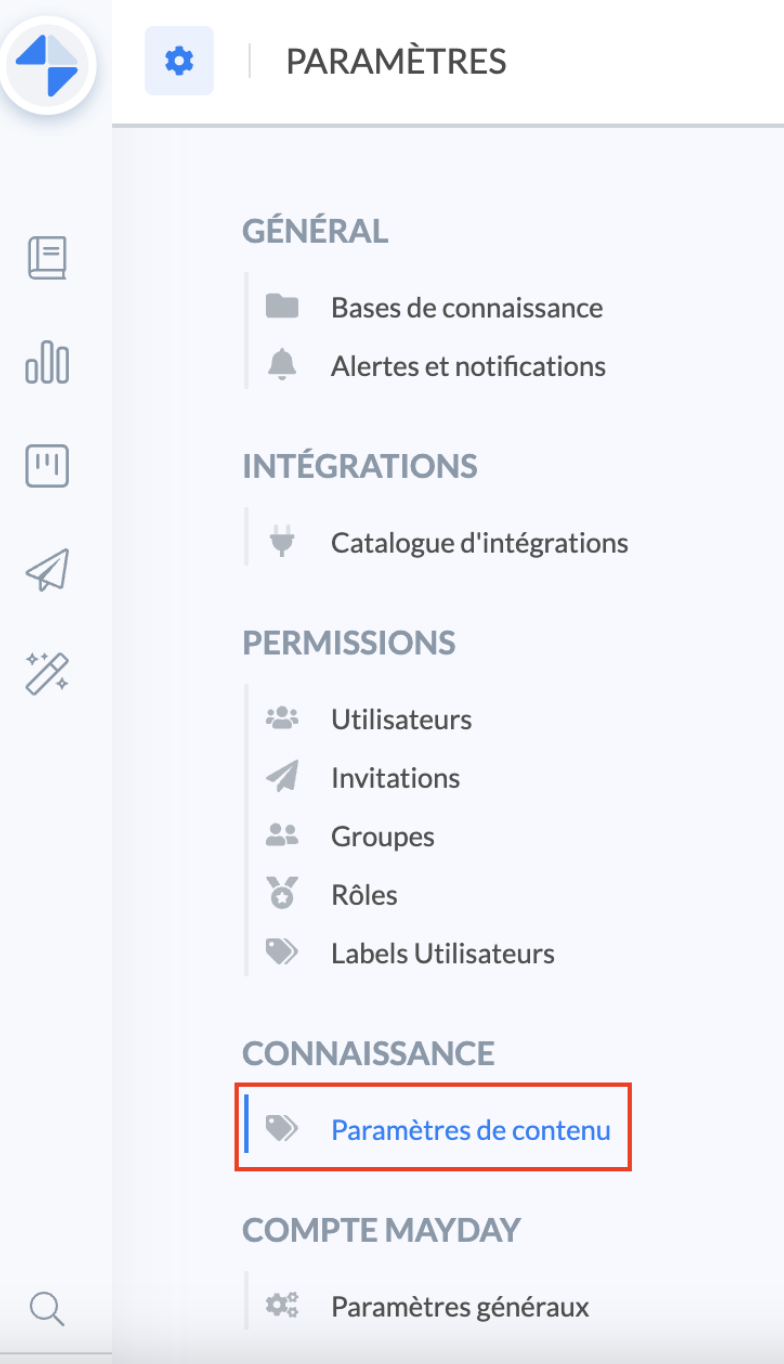
Thanks to Mayday Optimized Filtering (MOF ©), it is possible to define labels to categorize your content.
This gives your advisors the ability to find all the content they need at the right time in just a few clicks.
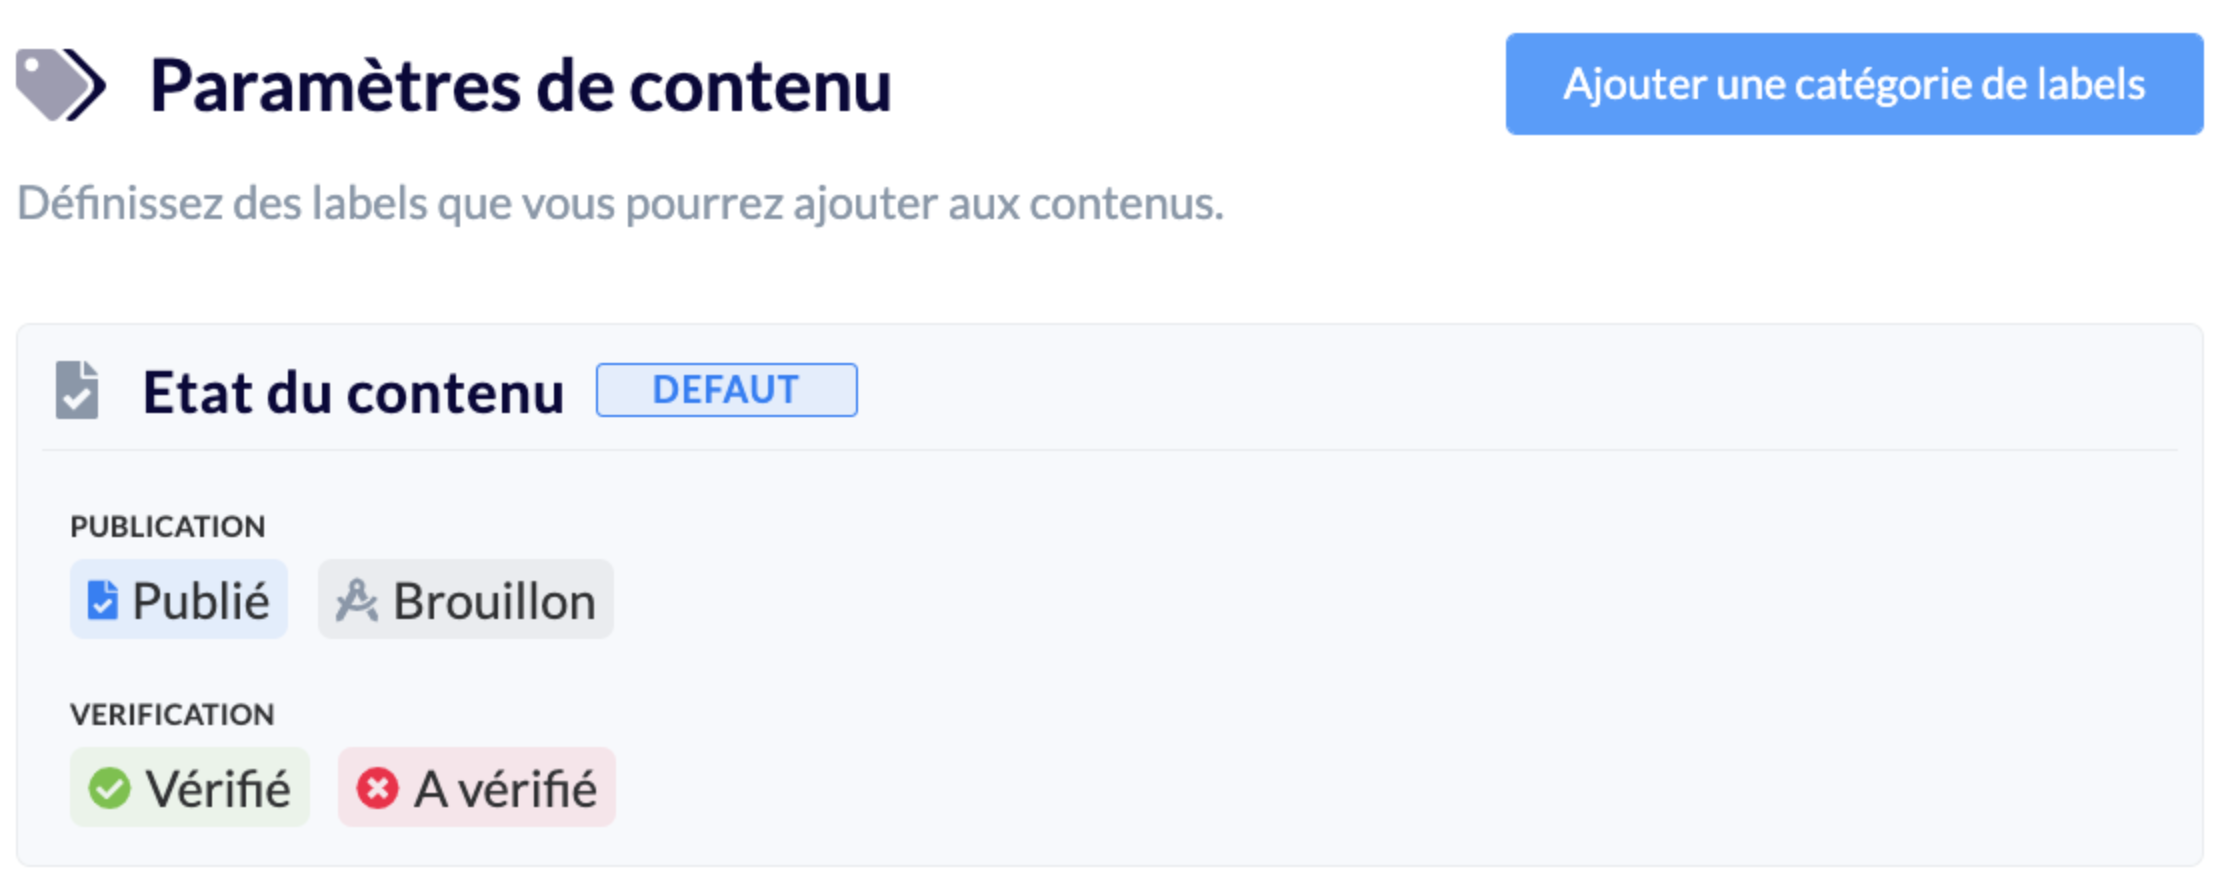
The "Content Status" category is created by default to distinguish two levels:
Publication: content labels "Published" and "Draft".
Verification: content labels "Verified" and "To Verify".
💡 You can find more information on using the labels of this default category by clicking on ✅ Publish a content and 👁️ Verify a content
🎯 Use Cases
Create content labels based on strategic criteria to allow your advisors to refine their searches.
Use labels to intelligently filter the thousands of contents in your knowledge base.
Assign visual tags to each of your contents to allow advisors to easily identify specific criteria for each article/diagnostic (typology, target...)!
⚒ Create a Content Label
1⃣ Step 1: Create a Category
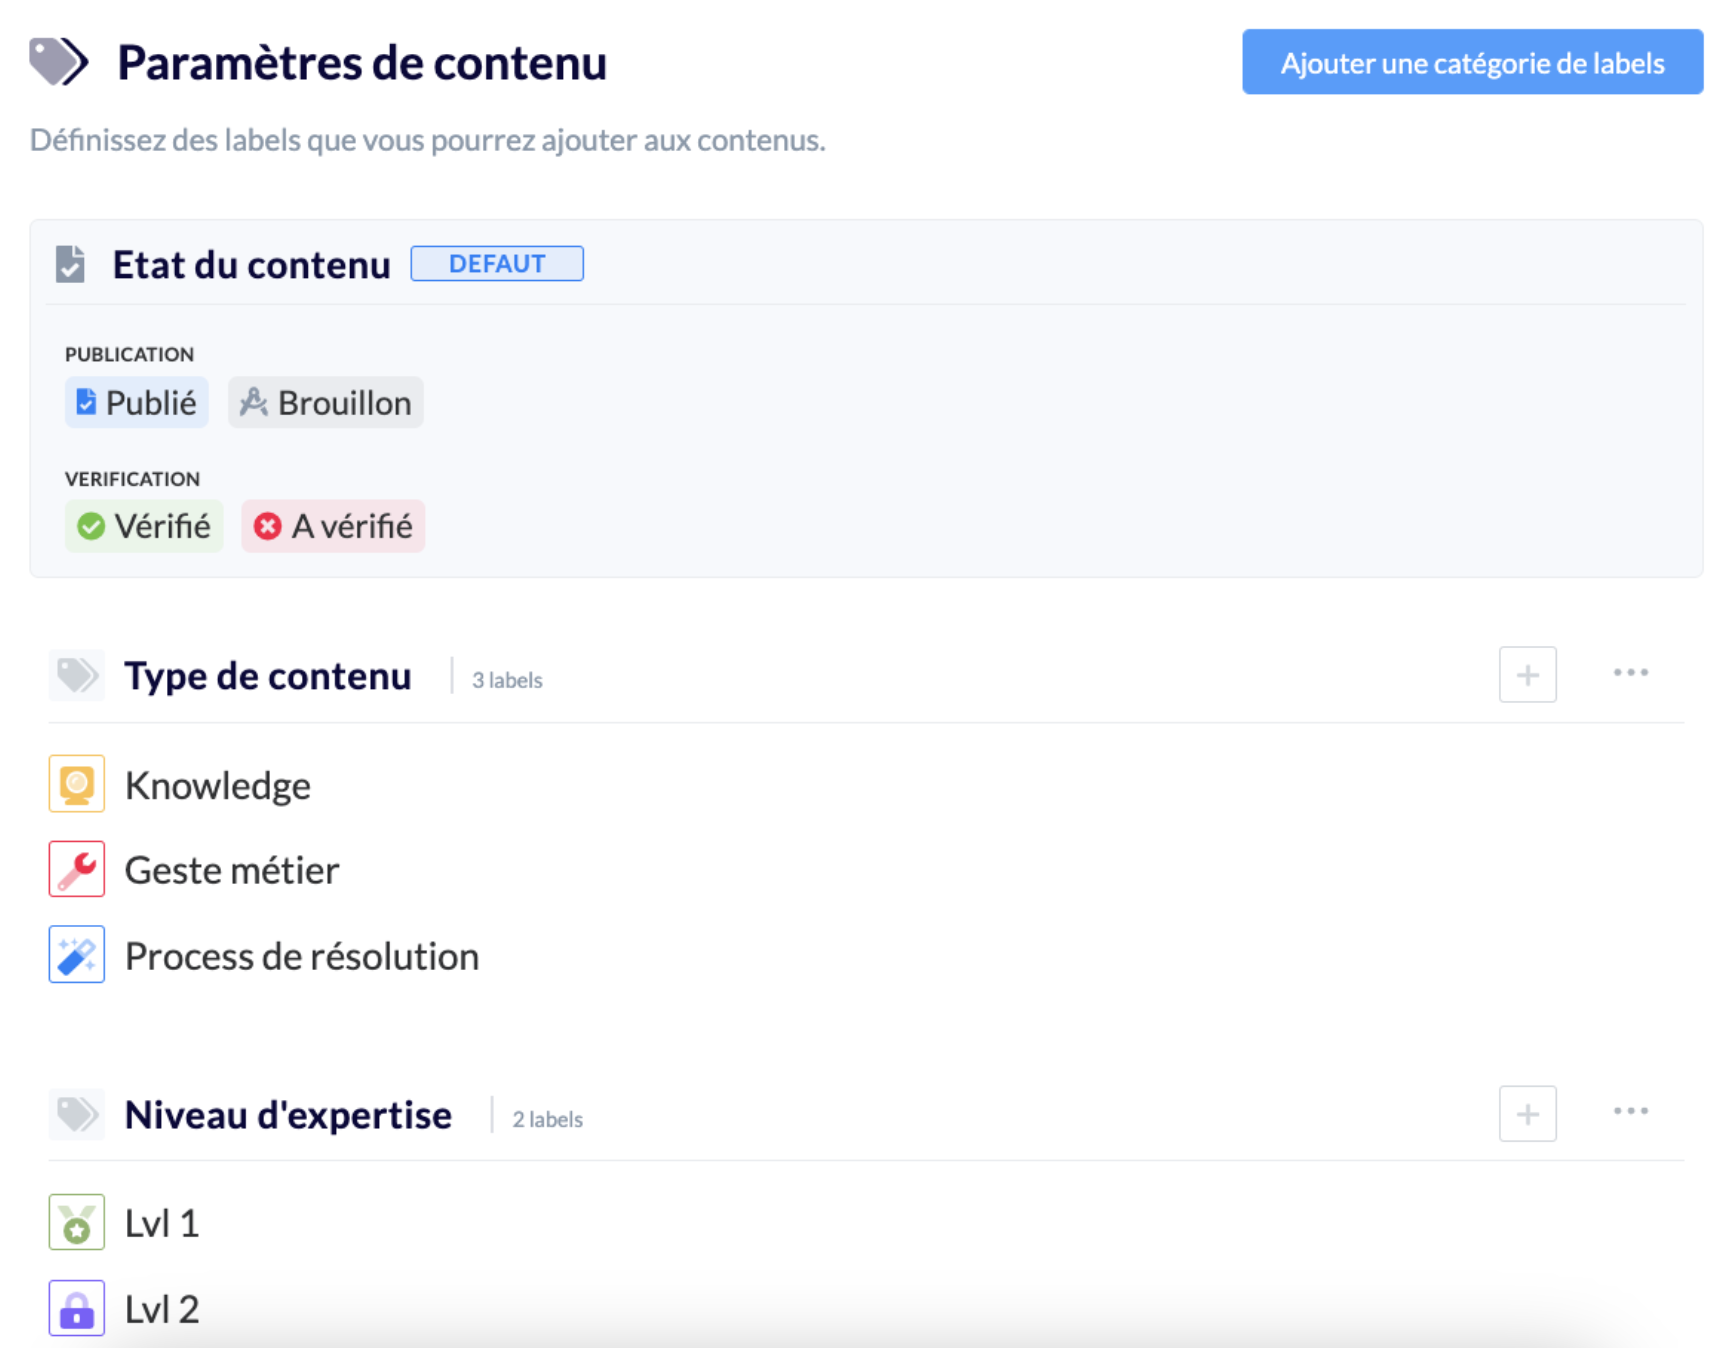
A category allows you to group labels by theme.
Creating a category is mandatory to be able to create one or more labels.
To create a content parameter, simply click on "Add a label category".


For each category, the following modifications can be made:
✍ Rename;
❌ Delete.

Attention: if you delete a category, all the labels in that category will be deleted from the contents.
To delete a category, you must delete the labels upstream. The last label deleted will automatically delete the category.
2⃣ Step 2: Create and Associate Labels with Categories
To create one or more content label(s) in this category, simply click on the icon "+" located on the right of the name of the category that has just been created:


For each content label, the following modifications can be made:
✍ Rename;
📸 Modify the icon and its color;
❌ Delete.

Attention: if you delete a content label, it will automatically be deleted from all contents that held it.
🏷 Labeling Content
Whether on an article or a diagnostic, you can affix one or more content labels.
It is not possible to affix a label to a collection.
To affix a label to a single content, follow these steps:
Click on the icon "Display settings for this content" to the right of the title of your content;
📸 View the icon to select 
Click on the "Settings" section;
Choose one or more labels by clicking on them;
📸 View how to choose labels 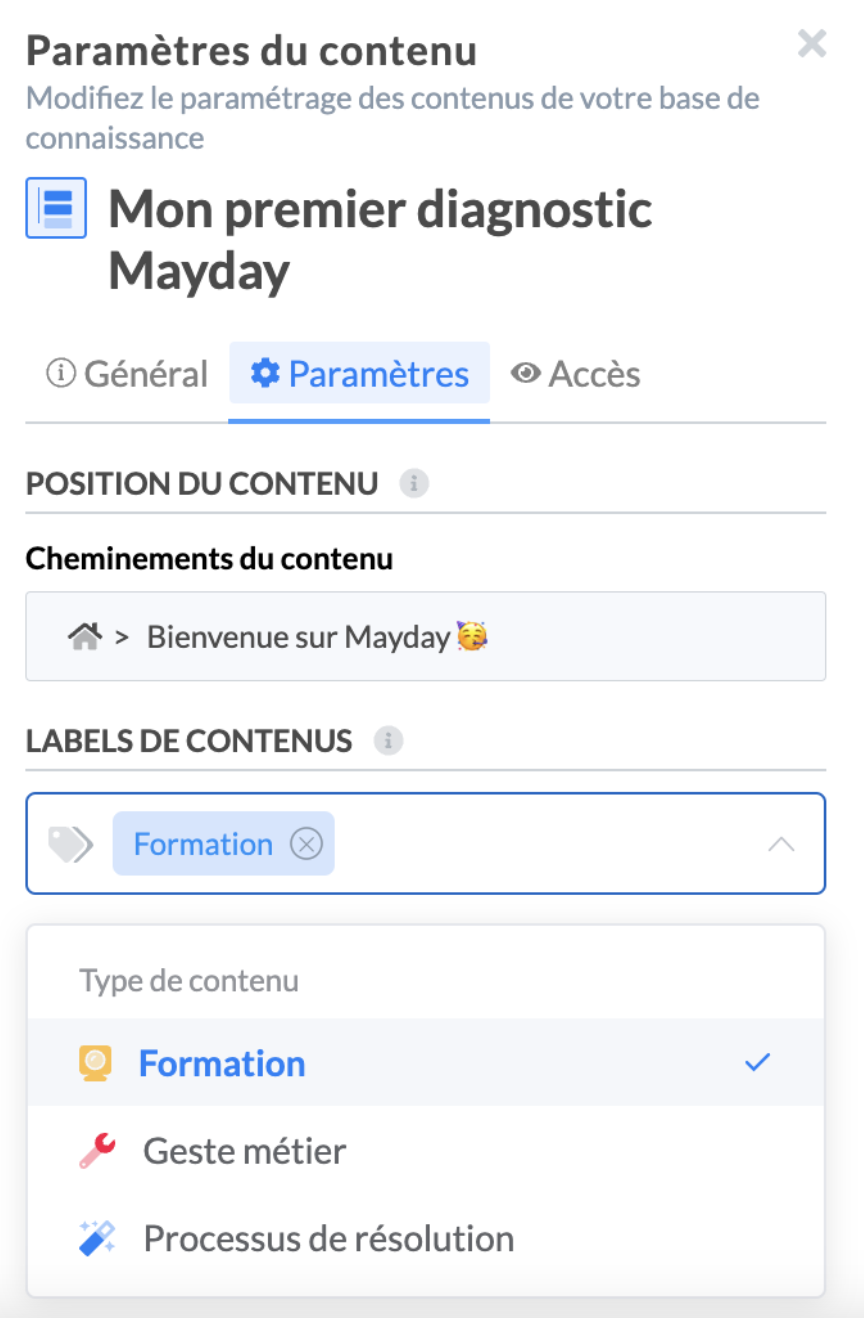
Your content is now categorized.
📸 Final result of content labeling 
🔍 Search by Label
Once your contents have labels, you can find them in your knowledge base using search filters that use labels to output the full list of contents related to these label(s).
To learn more about search filters, see the article Search a content in the admin interface
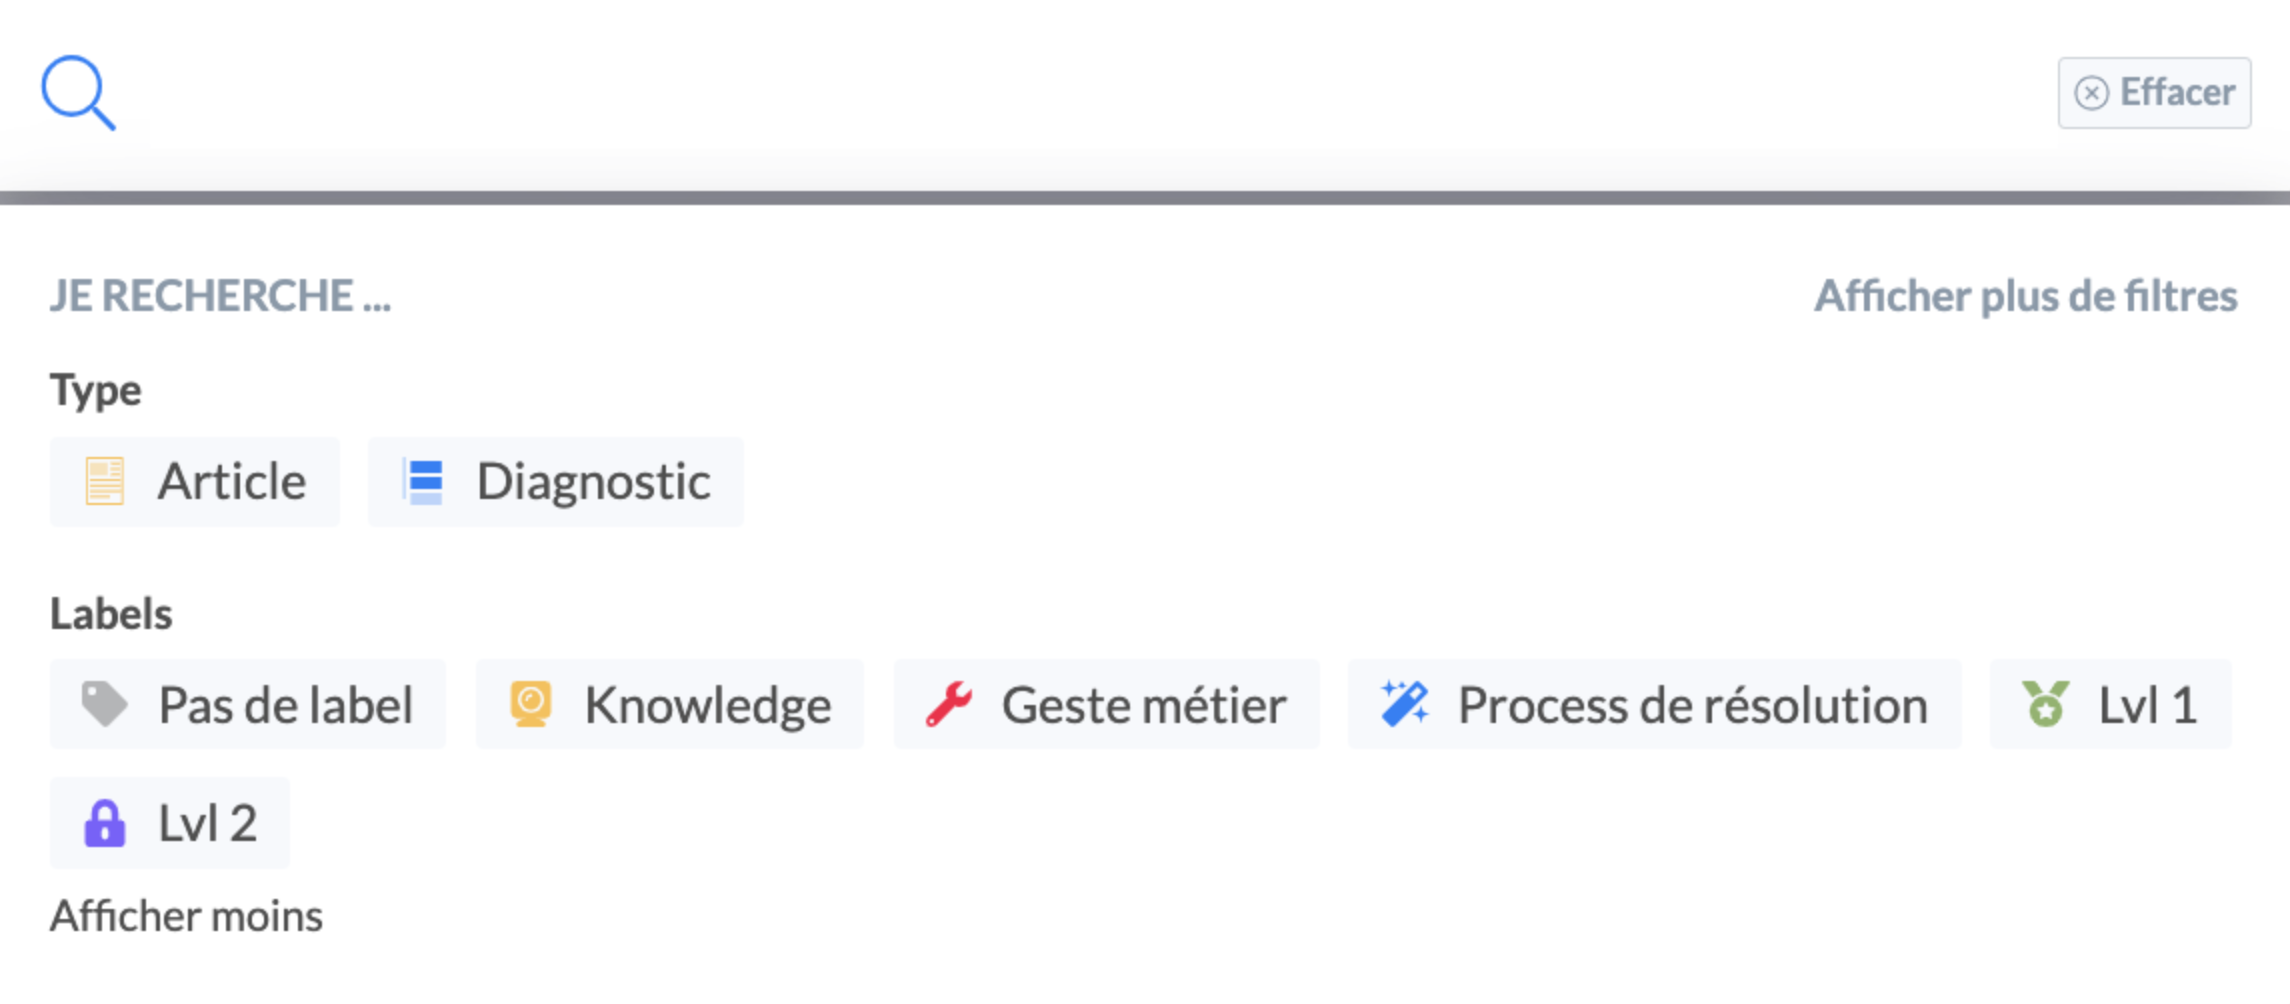
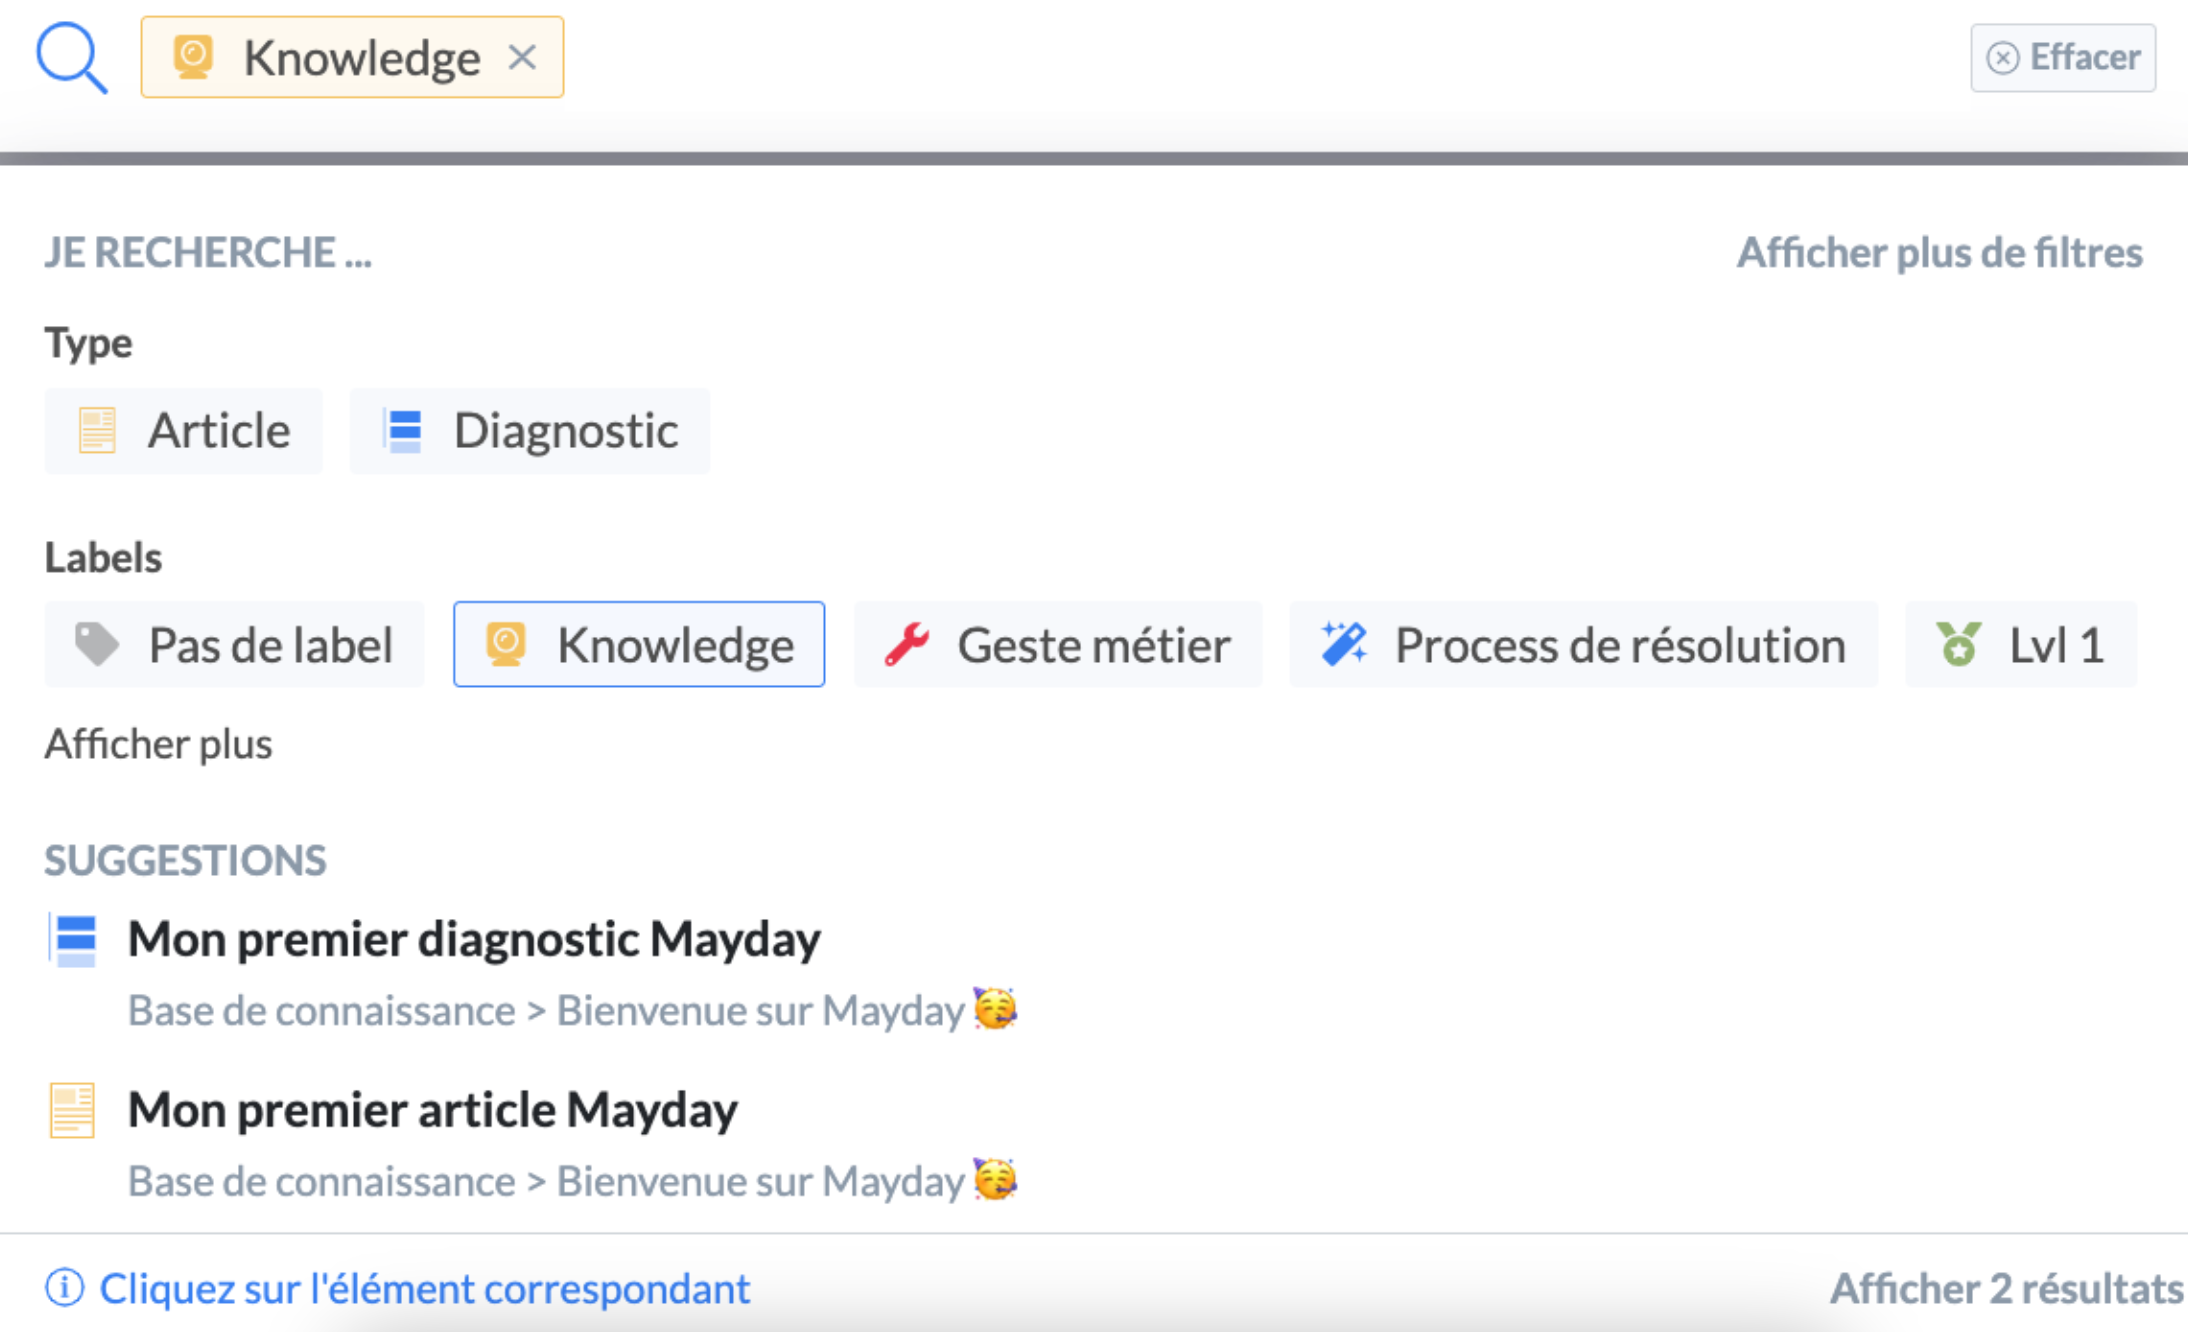
Content search is by default conditioned with the "OR" format.
Thus, if you check several labels, the search engine displays the results corresponding to one of the selected labels and not to the contents that have a correspondence with all the labels.
To modify the display logic of labels with an "AND" format, you must go to the settings of your account in the "Search Preferences" section.
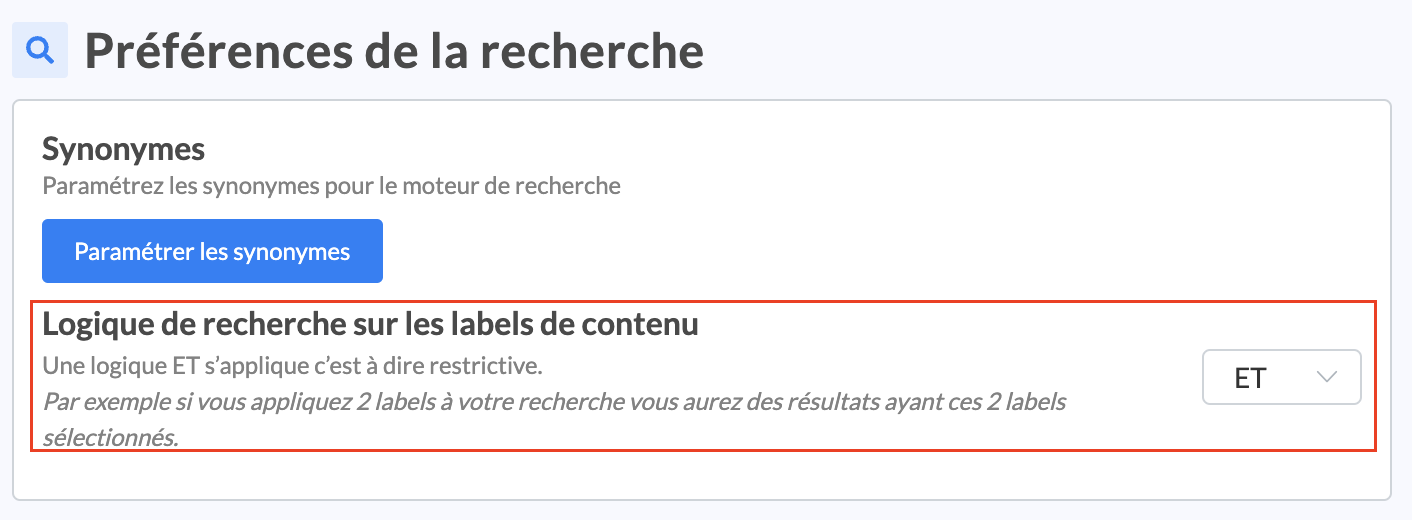
This search bar is also available for your advisors to facilitate their searches in the knowledge base.
👁 View Your Labels
The labels assigned to a content are visible on the administrator interface and on the advisor interfaces, under the title of the content, when you:
navigate within collections/sub-collections;
consult the content page;
search for content via the search engine.
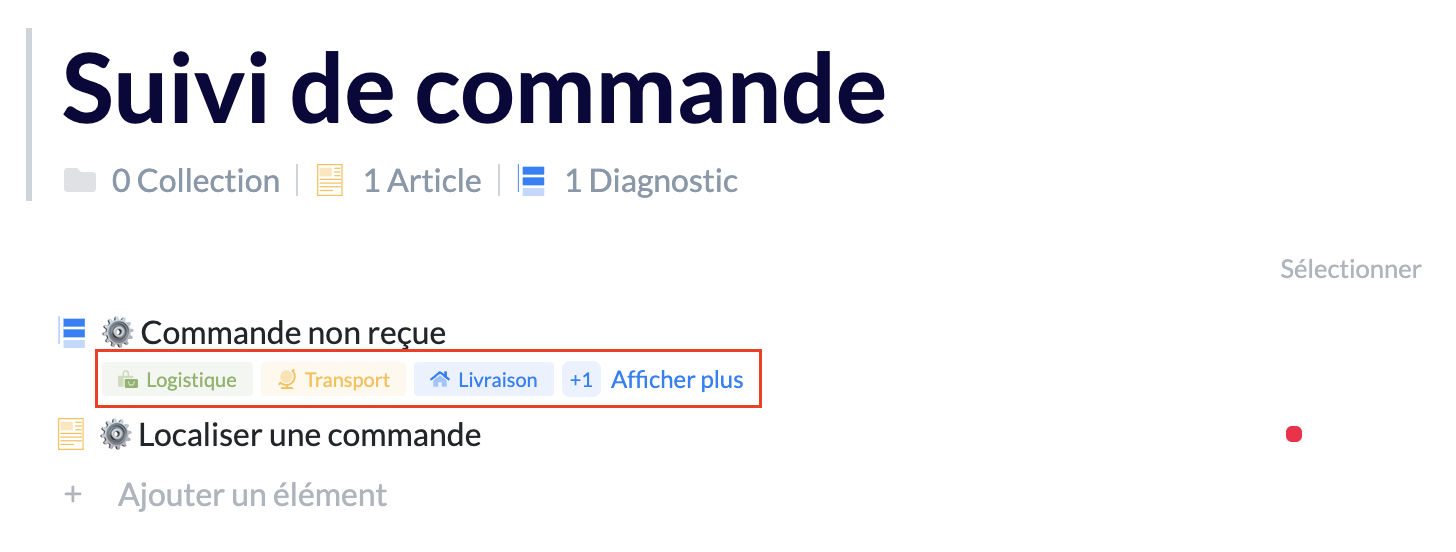
Only the first three labels are instantly visible to users. If a content has more than three labels, it is necessary to click on "Show more" to see all the labels assigned to the content.
